


Contents: Removal ⇩ Installation ⇩
Removal
1. Disconnect the ground wire from the battery.
For more information, refer to the chapter: Disconnecting and connecting the battery (414-01 Battery, Battery Mounting and Cables, General Procedures).
2. Remove the radiator grille.
For more information, refer to the chapter: Radiator Grille (501-08 Exterior trim, Removal and installation).
3. Remove the upper cooling fan shroud. Release the 6 clips.
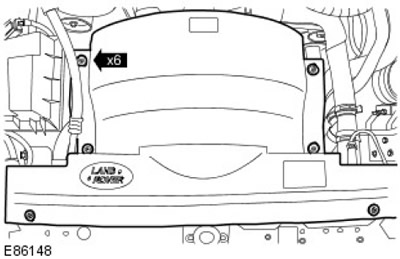
4. Remove the hood latch panel.
For more information, refer to the chapter: Hood Lock Panel (501-27 Repairs of sheet metal front elements, Removal and installation).
5.
NOTE: Right side shown, same for left side.
Remove the two sealing rings.
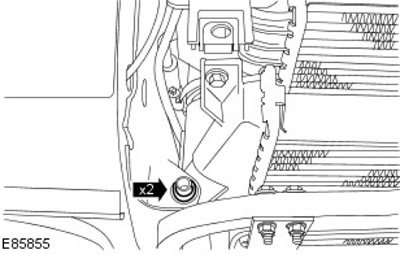
6.
NOTE: Right side shown, same for left side.
Remove the two charge air cooler brackets. Remove the 4 bolts.
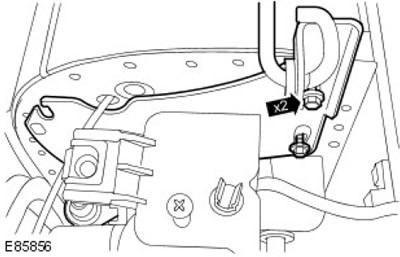
7.
CAUTION: Plug all openings. Use new plugs.
NOTE: Right side shown, same for left side.
Disconnect the charge air cooler inlet and outlet hoses.
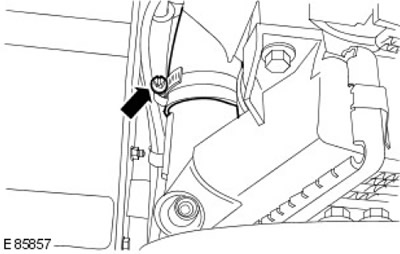
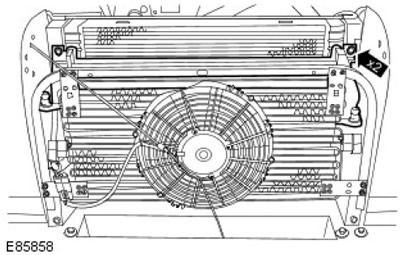
8. Remove the charge air cooler. Remove the two bolts.
Installation
1. Install the components in the reverse order of disassembly. Tighten (tightening torque 20 Nm).
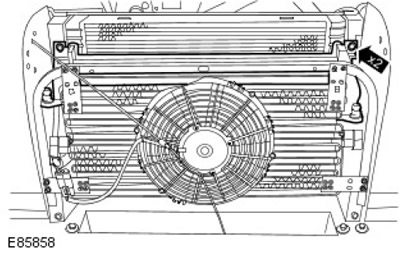
2.
NOTE: Remove and discard plugs.
Tighten it up (tightening torque 3 Nm).
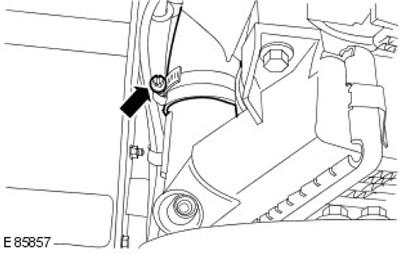
3. Tighten (tightening torque 9 Nm).
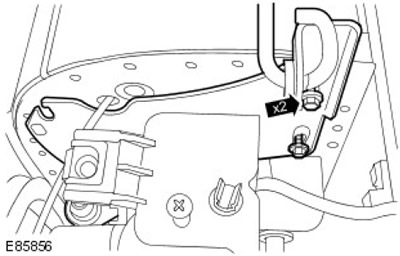
4. Connect the ground wire to the battery.
For more information, refer to the chapter: Connecting the Battery (414-01 Battery, Battery Mounting and Cables, General Procedures).
Comments on this article