Removing
1. Remove the floor console.
For more information, see the chapter: Floor Console (501-12 Instrument panel and console, Removal and installation).
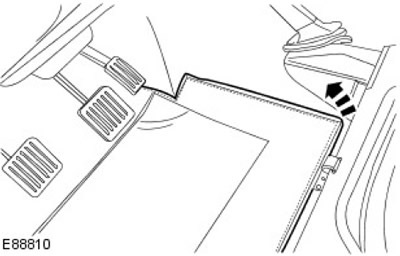
2. Re-lay the left carpet.
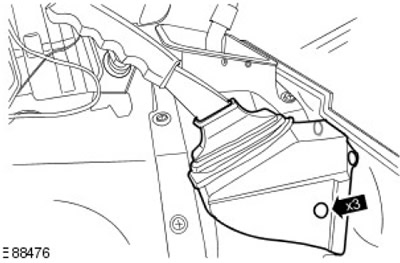
3. Release the protective cover of the parking brake lever. Remove 3 clips.
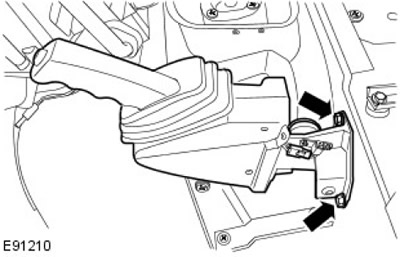
4. Release the parking brake lever.
- 1. Disconnect the electrical connector.
- 2. Turn out two bolts.
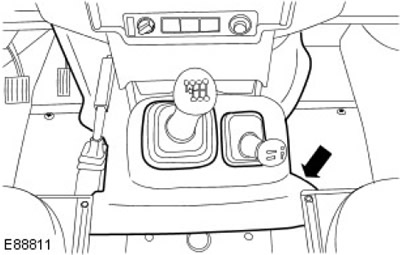
5. Remove the mat from the transmission cover panel.
6.
NOTE: Do not remove the protective cover from the switch knobs.
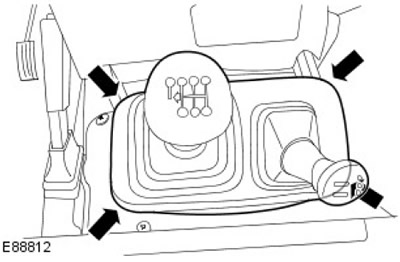
Remove the protective cover from the transmission cover panel.
7.
WARNING: The shift knob releases abruptly, so turn to the side when dismantling. Failure to follow this instruction may result in injury.
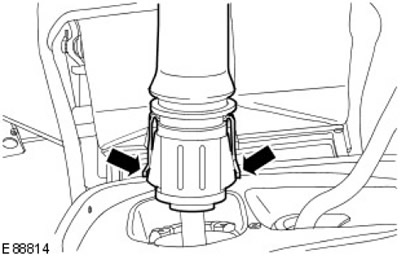
Release the shift lever handle. Release two clamps.
8.
WARNING: The high/low range lever knob releases abruptly, so turn to the side when dismantling. Failure to follow this instruction may result in injury.
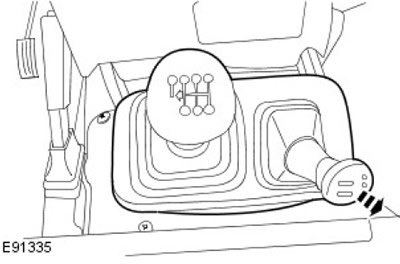
Remove the protective cover and dismantle the selector levers. Disconnect the high/low range selector lever.
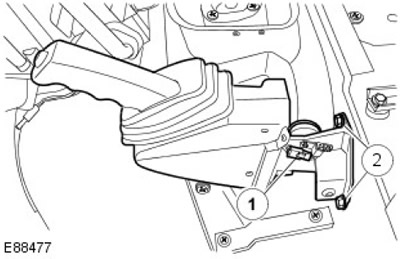
9. Remove the transmission cover panel. Remove 11 screws.

10. Disconnect the reversing light switch connector.
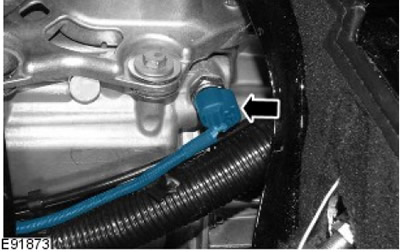
11. Remove the switch of lanterns of a backing. Remove the O-ring and send it for recycling.

Installation
1. Install the reversing light switch.
- Install the sealing ring.
- Tighten (tightening torque 20 Nm).

2. Attach an electric socket of the switch of a lantern of a backing.
3. Install the transmission cover panel. Screw in the screws.
4. Install the protective boot along with the supplied selector levers.
- Install the selector levers.
- Fully secure the protective cover.
5. Lay the mat on the transmission cover panel.
6. Install the parking brake lever. Tighten the bolts with a torque of 25 Nm.
7. Establish a protective cover of the lever of a parking brake. Install clamps.
8. Re-lay the left carpet.
9. Install the floor console.
For more information, see the chapter: Floor Console (501-12 Instrument panel and console, Removal and installation).
Comments on this article