Special tool (s)
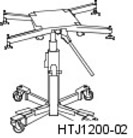 | Power unit jack assembly HTJ-1200-02 |
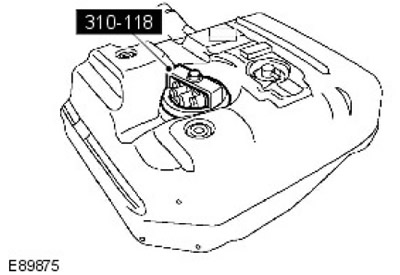
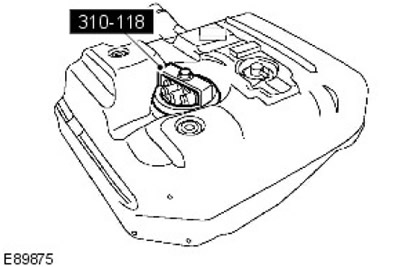
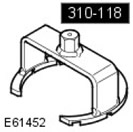 | Wrench for fuel tank 310-118 |
Removing
Warnings:
- After repairs are completed, the fuel system should be inspected for leaks. Failure to follow this instruction may result in injury.
- Do not carry or use a cell phone while working on or in the vicinity of any fuel related items. There is a danger of ignition of flammable vapours. Failure to follow these instructions may result in injury.
- Do not smoke or walk with a lit cigarette or any type of open flame while working on or near fuel related items. There is a danger of ignition of flammable vapours. Failure to follow these instructions may result in injury.
- If fuel gets in your eyes, rinse them with cold water or special eyewash solution and seek immediate medical attention.
- This procedure includes fuel handling. Always be aware of the possibility of fuel splashing and be careful when handling fuel. Failure to follow these instructions may result in injury.
- Wash your hands thoroughly after handling fuel as prolonged skin contact with fuel may cause irritation. Seek medical attention if irritation occurs.
Caveats:
- Diesel fuel injection equipment is manufactured to very precise tolerances and very close clearances. Therefore, when working with these nodes, absolute cleanliness is required.
- Be sure to insert plugs into all open openings and piping. Failure to follow this instruction may lead to the penetration of dirt into the fuel injection system.
- Keep the workshop area where the vehicle is being worked on as clean and dust-free as possible. Dirt and dust from working on the clutch, brakes, or from machining or welding can contaminate the fuel system and lead to malfunctions later.
1.
WARNING: It is forbidden to carry out work on a vehicle standing on only one jack. Always support the vehicle with jack stands.
Raise and support the vehicle.
2. Disconnect the wire "masses" from the battery.
For more information, see the chapter: Disconnecting and connecting the battery (414-01 Battery, Battery Mount and Wires, General Procedures).
3.
WARNING: Some fuel will inevitably spill during this operation. Ensure that all necessary precautions have been taken to prevent fire and explosion.
Drain the fuel from the fuel tank.
For more information, see the chapter: Emptying the fuel tank (310-00 Fuel supply system - General information, General procedures).
4.
CAUTION: Plug all openings. Use new caps.
Remove the fuel tank filler pipe. Loosen the clamp.
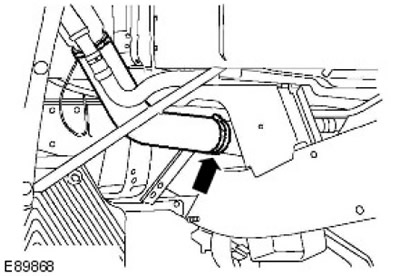
5. Remove the fuel tank vent line.
- Release from clamp.
- Cut the collar.

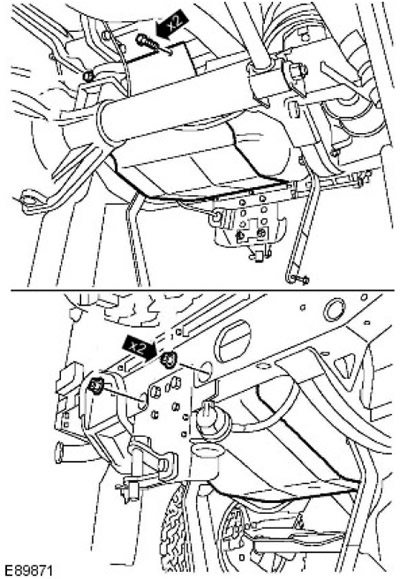
6. Support the fuel tank using the special tool.
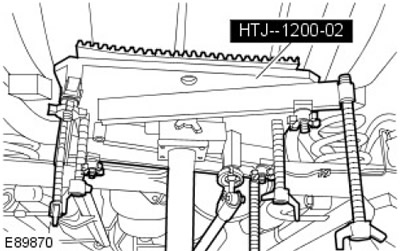
7. Lower the fuel tank.
- Turn out two bolts.
- Loosen 2 nuts.
8.
CAUTION: Plug all openings. Use new caps.
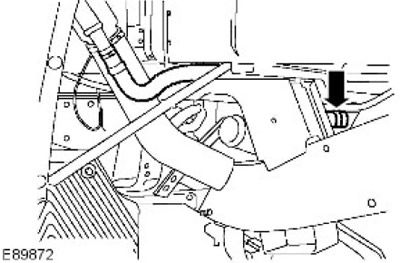
Disconnect the filler vent hose. Release the clamp.
9.
CAUTION: Plug all openings. Use new caps.
NOTE: Mark the installation position of the fuel lines.
Remove the fuel tank and its support bracket.
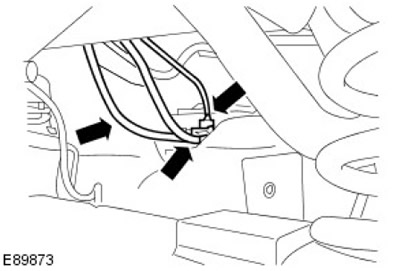
- Disconnect 2 fuel lines.
- Disconnect the electrical connector.
10.
NOTE: Do not proceed with further dismantling if the element is removed only for access.
Remove the fuel tank heat shield. Remove 3 clips.
11. Remove the fuel tank vent line. Release the clamp.
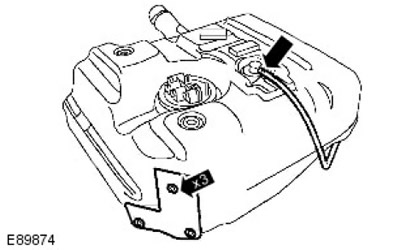
12. Remove the fuel level sensor.
- Using the special tool, remove the circlip.
- Remove the seal and send it for recycling.
Installation
1.
NOTE: Clean the contact surfaces of the parts.
Install the fuel level sensor.
- Install a new seal.
- Using the special tool, tighten the circlip to 35 Nm.
2. Install the fuel tank vent line. Secure with a clamp.
3. Install the fuel tank heat shield. Install 3 clips.
4.
NOTE: Remove and discard plugs.
Using the special tool, lift the fuel tank and its support bracket.
- Connect 2 fuel lines.
- Connect the plug connector.
5. Connect the fuel tank vent hose. Secure with a clamp.
6. Using the special tool, install the fuel tank and its support bracket.
- Tighten the bolts to 45 Nm.
- Tighten nuts (tightening torque 25 Nm).
7. Remove the fuel tank vent line.
- Fasten in clamp.
- Secure the pieces with wire ties.
8. Connect the fuel tank filler pipe. Tighten the clamp.
9.
WARNING: Some fuel will inevitably spill during this operation. Ensure that all necessary precautions have been taken to prevent fire and explosion.
Pour fuel into the fuel tank.
10. Connect the wire "masses" to the battery.
For more information, see the chapter: Connecting the Battery (414-01 Battery, Battery Mount and Wires, General Procedures).
Comments on this article