Removing
1. Remove the hatch located in a luggage carrier on the left side.
2. Remove the cover of the box located in the trunk on the left side.
3. Raise and secure the spare wheel cover.
4. Remove the hexagon head bolts for attaching the luggage securing rings.
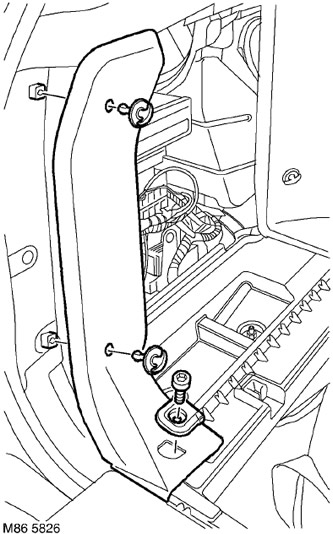
5. Turn away 2 screw couplers of fastening of the left back panel of a luggage space.
6. Carefully release and remove the panel.
7. Turn away the bottom screw coupler of fastening of the forward panel of a luggage space.
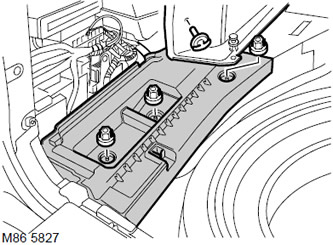
8. Remove the rivet securing the left luggage compartment panel to the box.
9. Remove the 3 nuts securing the drawer, carefully loosen and remove the drawer.
10. Turn away 2 nuts and 2 bolts of fastening of an arm.
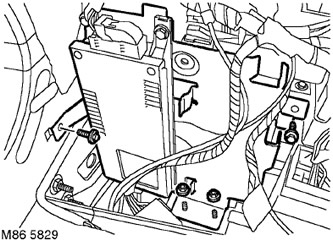
11. Lift the mounting bracket assembly for easier access and disconnect the 3 pads from the amplifier.
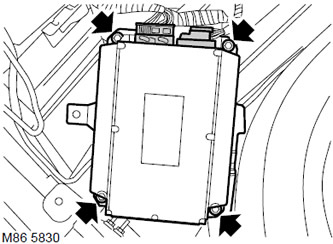
12. Turn away 4 bolts of fastening of the amplifier and remove the amplifier.
Installation
1. Install the booster and tighten the mounting bolts to 6 Nm.
2. Connect the pads to the amplifier.
3. Install the amplifier in the mounting bracket, make sure that the wiring harness is routed freely and tighten the bolts and nuts to a torque of 6 Nm.
4. Install the storage box for various items and fix it with nuts.
5. Install the rivet securing the left luggage compartment panel to the box.
6. Establish the bottom screw coupler of fastening of the forward panel of a luggage compartment.
7. Install the rear left panel, align with the tailgate seal and install the tie rods.
8. Fit the load securing rings and tighten the hex socket head bolts to 25 Nm.
9. Lower and secure the spare wheel cover.
10. Install the drawer lid.
11. Replace the hatch.
Comments on this article