GENERAL INFORMATION, Precautions when working with electrical equipment.
Removing
1. Disconnect "mass" battery wire.
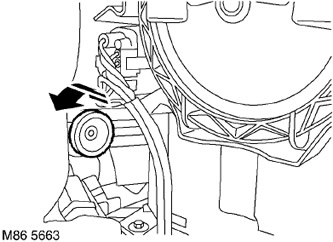
2. Remove the self-locking nut that secures the light to the headlight mounting bracket.
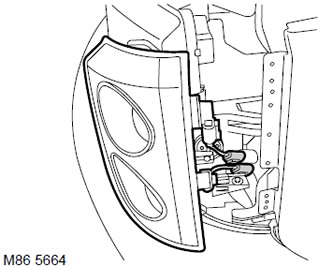
3. Slide the combined lamp forward, disconnect the block and remove the lamp.
NOTE: If disassembly was carried out only to provide access to other elements of the system, then further disassembly operations should not be performed.
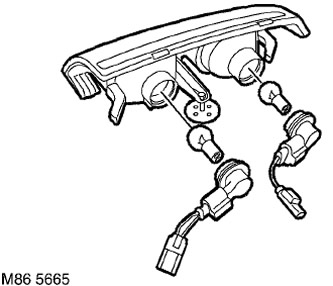
4. Release the bulb holders from the lantern, remove the bulbs from the bulb holders.
Installation
1. Install the lamps in the sockets.
2. Install cartridges in the flashlight.
3. Attach cable lugs.
4. Install and secure the lantern.
5. Attach "mass" battery wire.
Comments on this article