Removing
1. Remove the instrument panel end cap.
CAR INTERIOR PARTS, REPAIR WORKS, End panel - control panel.
2. Remove the deflector that supplies air at the level of the passengers' faces.
HEATING AND VENTILATION, REPAIR WORKS, Control panel ventilation grill - face level.
3. Remove the rack trim "A" body.
CAR INTERIOR PARTS, REPAIR WORKS, Overlay - rack "A" - top.
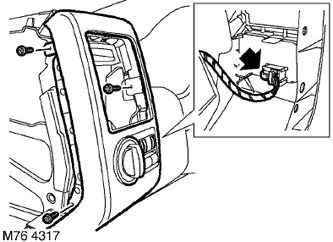
4. Remove the 3 Torx screws securing the control panel side trim.
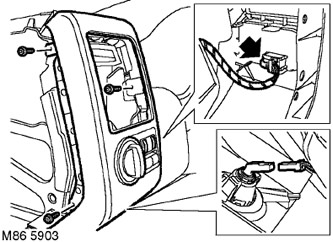
5. Disconnect a lateral slip from the panel and a block from the switch.
6. Disconnect a lantern of illumination of space for legs of passengers.
7. Remove the control panel side trim.
NOTE: If disassembly was carried out only to provide access to other elements of the system, then further disassembly operations should not be performed.
8. Remove the switch from the trim.
Installation
1. Install the switch in the side trim of the control panel.
2. Attach cable lugs.
3. Establish a lateral overlay of the panel of devices and wrap screws.
4. Remove the deflector that supplies air at the level of the passengers' faces.
HEATING AND VENTILATION, REPAIR WORKS, Control panel ventilation grill - face level.
5. Install the control panel end cap.
CAR INTERIOR PARTS, REPAIR WORKS, End panel - control panel.
6. Install the lower upholstery of the rack "A".
CAR INTERIOR PARTS, REPAIR WORKS, Overlay - rack "A" - top.
Comments on this article