Contents: Removal ⇩ Installation ⇩
Removal
1. Place the vehicle on a level, horizontal surface and place wheel chocks under the rear wheels.
2. Raise the vehicle and place secure supports underneath it or use a lift.
3. Center the steering.
For more information, refer to the chapter: Steering Gear Centering (211-00 Steering System - General Information, General Procedures).
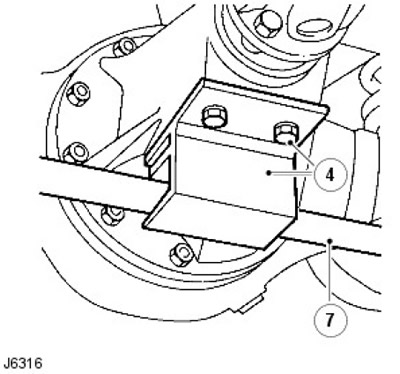
4. Remove the two bolts and the steering rod protective bracket from the differential housing.
5. Remove the cotter pin and unscrew the castle nut securing the steering rod to the steering knuckle arm.
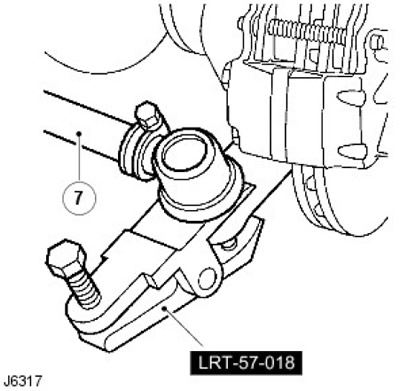
6. Disconnect the tie rod ends using tool LRT-57-018.
[The full version is available on the website: lrman.ru]
7. Remove the steering rod.
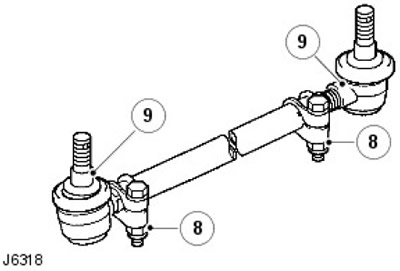
8. Loosen the clamp bolts.
9. Unscrew the steering rod ends.
Installation
1. Install new tie rod ends onto the tie rods and lightly tighten the clamp bolts.
2. Thread the tie rod ends to the full thread length and tighten the clamp bolts completely.
CAUTION: A damaged or bent tie rod must be replaced. DO NOT attempt to repair or straighten it.
3. Connect the steering rods to the steering knuckles and tighten the steering rod end nuts to 44 Nm. Install a new cotter pin.
4. Connect the traction control bracket to the axle differential housing and tighten the fastening element to 30 Nm.
5. Check the wheel alignment angles.
For more information, refer to the chapter: Front Wheel Alignment (204-00 Suspension - General Information, General Procedures).
6. Remove the supports or remove the vehicle from the lift.
Comments on this article