


Contents: Removal ⇩ Installation ⇩
Removal
1.
WARNING: Never work on a vehicle supported only by a jack. Always support the vehicle with special stands.
Raise and support the vehicle.
For more information, refer to the chapter: Lifting the vehicle (100-02 Jacking and lifting a car on a lift, Description and operating principle).
2. Remove the turbocharger heat shield. Remove 5 bolts.
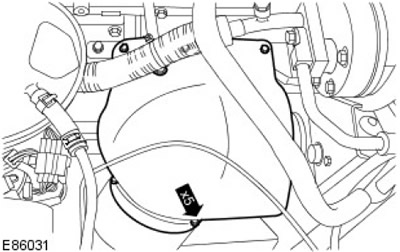
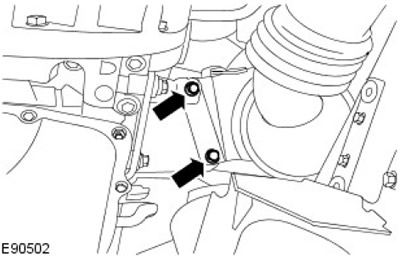
3. Remove the catalytic converter heat shield. Remove the two bolts.
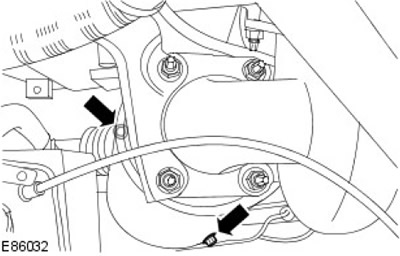
4. Remove and discard the 4 catalytic converter nuts.
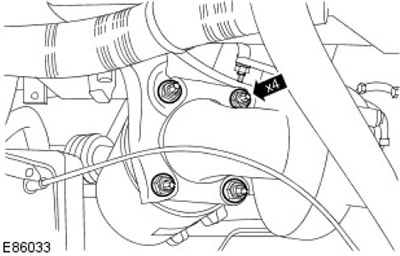
5. Remove and discard the 4 catalytic converter studs.
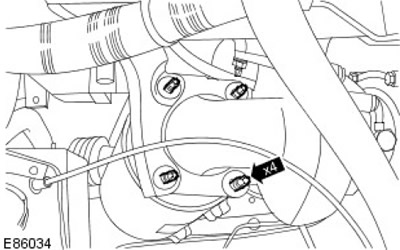
6.
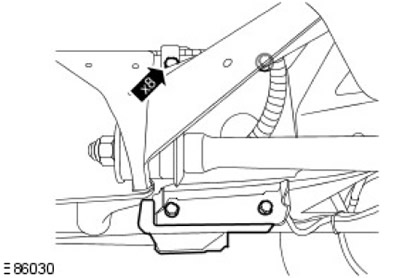
NOTE: Left side shown, right side similar.
Remove the chassis crossmember. Unscrew 8 bolts.
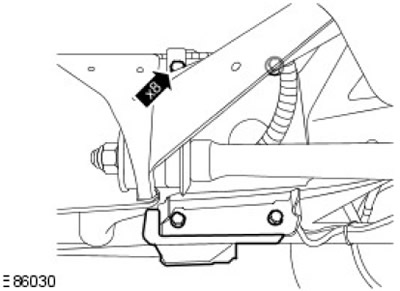
7. Remove the front section of the propeller shaft.
For more information, refer to the chapter: Front Propeller Shaft (205-01 Cardan shaft, Removal and installation).
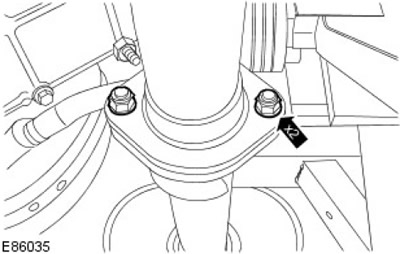
8. Release the catalytic converter. Unscrew and discard the 2 nuts.
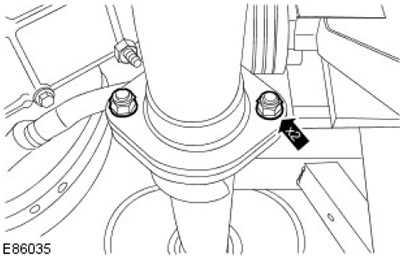
9. Remove the catalytic converter. Unscrew the 4 bolts.
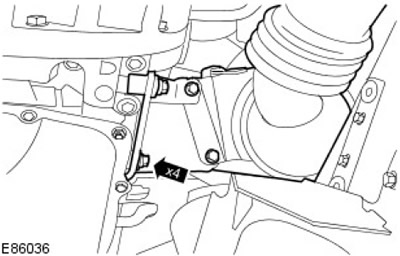
Installation
1. Install the catalytic converter. Screw in the bolts, but do not tighten them.
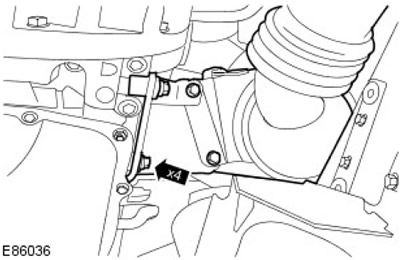
2. Secure the catalytic converter. Install, but do not tighten, the new nuts.
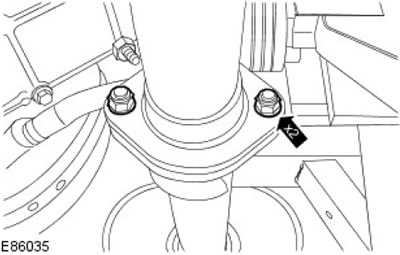
3. Install 4 new studs onto the catalytic converter.

4. Install 4 new nuts onto the catalytic converter. Tighten (tightening torque 45 Nm).
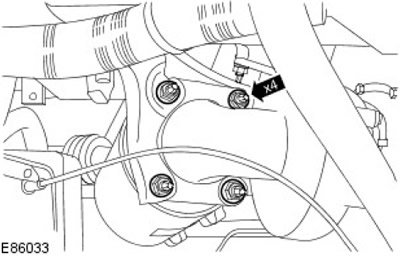
5. Install the catalytic converter heat shield. Tighten (tightening torque 10 Nm).
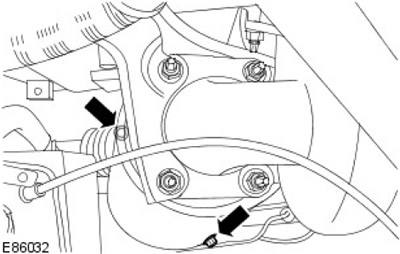
6. Install the turbocharger heat shield. Tighten (tightening torque 10 Nm).

7. Tighten (tightening torque 30 Nm).
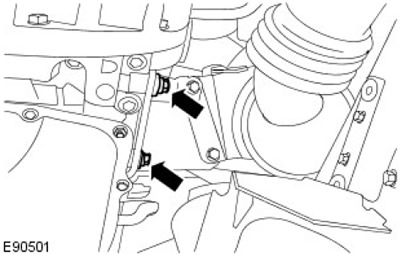
8. Tighten (tightening torque 30 Nm).
9. Tighten (tightening torque 30 Nm).
10. Install the front drive shaft.
For more information, refer to the chapter: Front Propeller Shaft (205-01 Cardan shaft, Removal and installation).
11.
NOTE: Left side shown, right side similar.
Install the chassis crossmember. Tighten (tightening torque 85 Nm).
Comments on this article