Contents: Removal ⇩ Installation ⇩
Removal
1. Loosen the wheel mounting nuts.
2. Raise the front of the car. Place reliable supports under the chassis and remove the wheel.
3. Support the front axle with a jack.
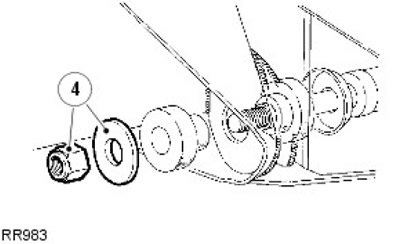
4. Remove the trailing arms from the chassis side members.
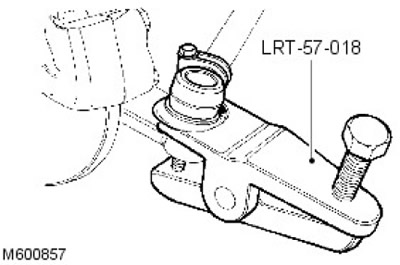
5. Disconnect the steering rod from the ball joint using tool LRT-57-018.
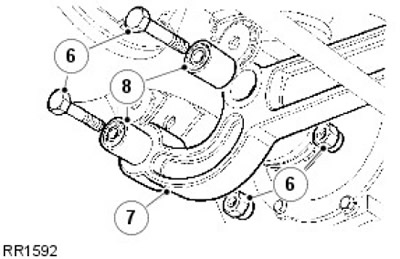
6. Remove the trailing arm fastening elements from the axle.
7. Lower the front end of the trailing arm to release it from the axle and remove the arm from the vehicle.
8. Using a suitable piece of steel pipe, press out the flexible bushings.
Installation
1. Press in new bushings.
CAUTION: When pressing in new bushings, apply pressure to the outer edge of the bushing, not the inner rubber portion.
2. Connect the trailing arm to the bridge bracket.
3. Connect the steering rod to the ball joint.
4. Connect the trailing arm to the chassis. Tighten the bolts to 176 Nm.
5. Fully tighten the trailing arm to axle fastening elements to 197 Nm.
6. Install the wheel, remove the supports from under the chassis and the jack. Tighten the wheel nuts to the specified torque:
- 1. Alloy wheels - 130 Nm
- 2. Steel wheels - 100 Nm
- 3. Wheels with increased performance characteristics - 170 Nm
Comments on this article