


General procedures
WARNING: Never remove the coolant expansion tank cap when the system is hot, as steam or coolant escaping from the cap could cause serious injury, such as scalding.
Warnings:
- To prevent corrosion and engine damage from freezing coolant, keep the engine cooling system filled with the correct grade and concentration of antifreeze. Failure to follow these instructions may result in engine damage.
- Coolant can damage paintwork. If coolant is spilled, remove it immediately and rinse the area with water.
1. Set the heater controls to the maximum heat position.
2.
WARNING: Never remove the coolant expansion tank cap when the system is hot, as steam or coolant escaping from the cap could cause serious injury such as scalding.
Remove the expansion tank cap.
3.
WARNING: Never remove the coolant expansion tank cap when the system is hot, as steam or coolant escaping from the cap could cause serious injury such as scalding.
Loosen the cooling system air bleed screw.
4.
WARNING: Never work on a vehicle supported only by a jack. Always support the vehicle with special stands.
Raise the vehicle and place supports underneath it.
5.
WARNING: Always use eye protection.
NOTE: Install a coolant collection container.
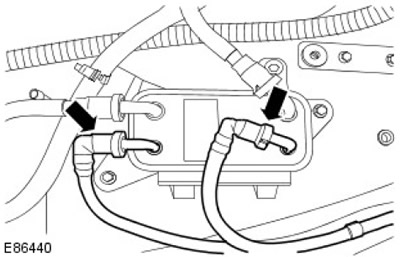
Disconnect the 2 fuel cooler heat exchanger coolant pipes. Allow the coolant to drain.
6.
WARNING: Always use eye protection.
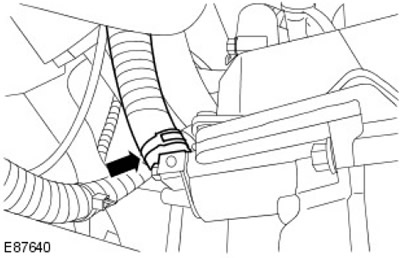
Disconnect the coolant hose from the oil cooler thermostat. Allow the coolant to drain.
7. Remove the container.
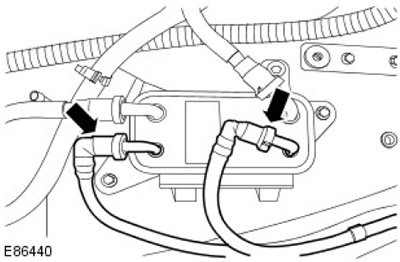
8. Connect the 2 fuel cooler heat exchanger coolant pipes.
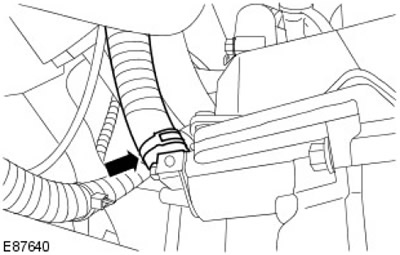
9. Connect the oil cooler thermostat coolant hose.
10.
Warnings:
- Coolant can damage paintwork. If coolant is spilled, remove it immediately and rinse the area with water.
- The antifreeze concentration should be maintained at 50%.
Fill the expansion tank of the cooling system so that the coolant level stops in the range "COLD FILL RANGE" (REFUELING RANGE FOR THE COLD STATE).
11. Tighten the cooling system air bleed screw.
12. Install the coolant expansion tank cap.
13.
Warnings:
- Make sure the coolant level remains above the low level mark "COLD FILL RANGE".
- Monitor the engine temperature gauge. If the engine starts to overheat, turn it off immediately and let it cool. Failure to follow this instruction may result in damage to the vehicle.
Start the engine and let it run.
- Maintain the crankshaft speed at 3000 rpm for one minute.
- Let the engine idle for 5 minutes.
- Maintain the crankshaft speed at 3000 rpm for one minute.
- Let the engine run until the thermostat opens.
14.
WARNING: Relieve the pressure in the cooling system by slowly loosening the expansion tank cap a quarter turn. Cover the expansion tank cap with a thick cloth to prevent scalding. Failure to do so may result in personal injury.
NOTE: After bleeding the cooling system and before tightening the expansion tank cap, add coolant to the expansion tank until the level is 30 mm above the upper mark.
Turn off the engine.
- Unscrew the expansion tank cap, wait until the coolant level in the tank stabilizes and add coolant so that its level is 30 mm above the upper mark.
- Let the engine cool down.
15. If coolant gets on your vehicle, wipe it off.
16. Check the coolant level and top up if necessary.
Comments on this article