Contents: Removal ⇩ Installation ⇩
Removal
1. Remove the gearbox.
AUTOMATIC TRANSMISSION - GM 5L40-E, REPAIR WORK, Automatic transmission assembly with transfer case - removal and installation.
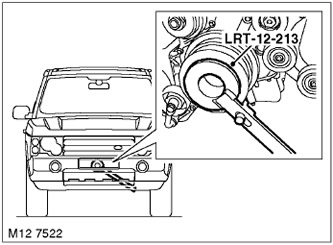
2. Install the LRT-12-213 tool onto the crankshaft pulley to secure it.
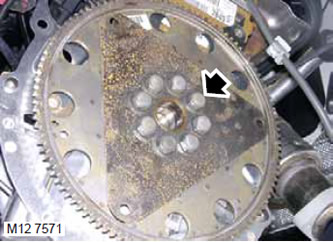
3. Remove and discard the 8 bolts securing the drive disc to the crankshaft.
4. Remove the torque converter drive disk with the toothed ring.
Installation
1. Using an old drive plate mounting bolt with two 45° notches cut into it, clean the threaded sockets in the crankshaft flange of any remaining thread locking compound.
2. Wipe the drive disk and the mating surface of the crankshaft.
3. Install the drive disk on the crankshaft.
(The original was published on the portal www.lrman.ru)
4. Screw in new bolts, pull the drive disk to the crankshaft, tighten the bolts evenly and sequentially. Tightening torque 115 N·m.
5. Install the gearbox.
AUTOMATIC TRANSMISSION - GM 5L40-E, REPAIR WORK, Automatic transmission assembly with transfer case - removal and installation.
Comments on this article