Contents: Removal ⇩ Installation ⇩
Removal
1. Raise and support the vehicle.
WARNING: Ensure that the vehicle is supported securely.
2. Remove the headlamps. Refer to the procedure: Headlamp Assembly (417-01 Exterior Lighting, Removal and Installation).
3. Remove the front impact sensors. Refer to the procedure: Front Impact Sensor (501-20B Supplemental Restraint System, Removal and Installation).
NOTE: Do not continue disassembly if the component is removed only for access.
4. Remove the front fenders. Refer to procedure: Fender (501-02 Front Body Panels, Removal and Installation).
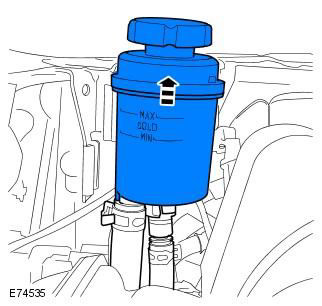
5. Move aside and tie up the power steering.
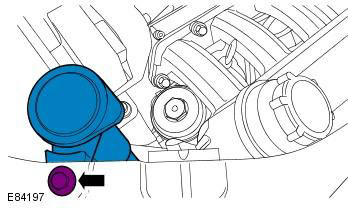
6. Disconnect the windshield washer reservoir filler neck.
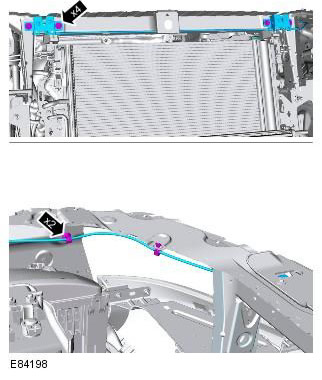
7. Release the hood latches.
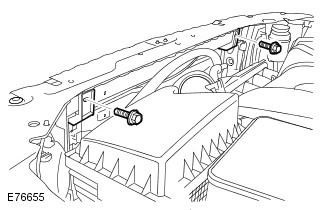
8.
9. Release the wiring harness.
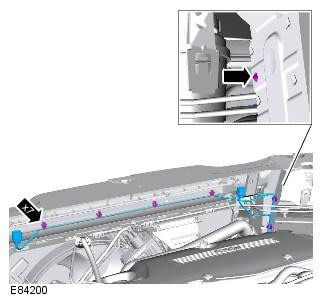
10.
WARNING: This step requires the assistance of a second mechanic.
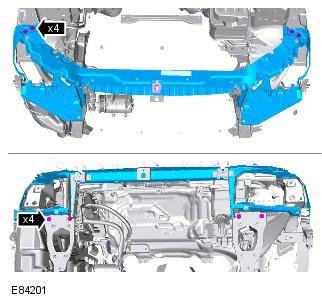
11.
NOTE: Do not continue disassembly if the component is removed only for access.
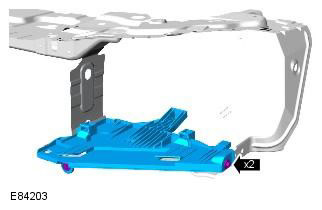
Installation
1. Install the headlight brackets. Tightening torque: 6 Nm
The material was taken from the specified website [www.LRman.ru]
2. Install the hood latch panel. Tightening torque: 24 Nm
WARNING: This step requires the assistance of a second mechanic.
3. Secure the wiring harness.
4. Install the radiator supports. Tightening torque: 6 Nm
5. Install the hood latches. Tightening torque: 10 Nm
6. Install the windshield washer reservoir filler neck. Tightening torque: 6 Nm
7. Reinstall the power steering fluid reservoir.
8. Install the front impact sensors. Refer to the procedure: Front Impact Sensor (501-20B Supplemental Restraint System, Removal and Installation).
9. Install the front fenders. Refer to procedure: Fender (501-02 Front Body Panels, Removal and Installation).
10. Install the headlamps. Refer to the procedure: Headlamp Assembly (417-01 Exterior Lighting, Removal and Installation).
Comments on this article