Contents: Removal ⇩ Installation ⇩
WARNING: Use caution when working near hot exhaust system components.
Removal
1. Raise the car on a lift.
2. Remove the lower engine shield. Refer to procedure: Engine Shield (501-02 Front Body Panels, Removal and Installation).
3. Remove the exhaust system. Refer to procedure: Exhaust System (309-00A Exhaust System - 3.2L NA - I6, Removal and Installation).
4.
Mark the position of the components to facilitate subsequent installation. To avoid contamination of the system, be sure to plug all open connections.
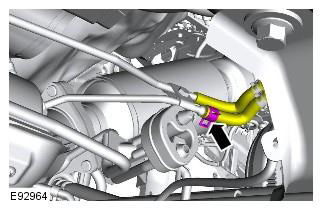
5.
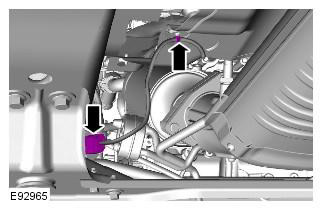
6.
CAUTION: Discard nuts.
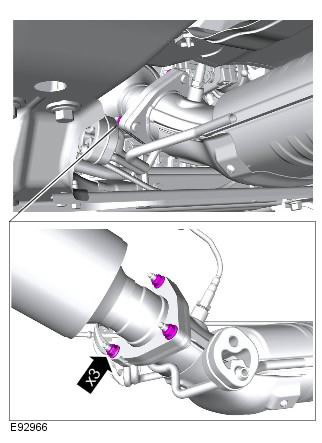
7.
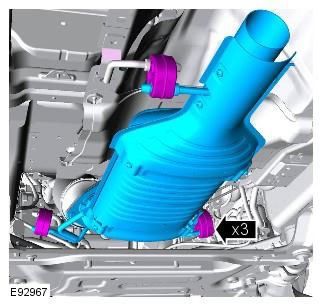
8.
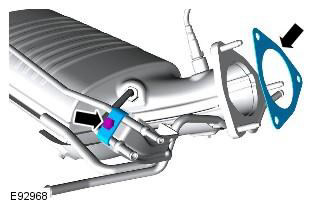
9.
CAUTION: Before disconnecting or removing components, clean the area around mating surfaces and connections. To prevent contamination of the system, plug all open connections.
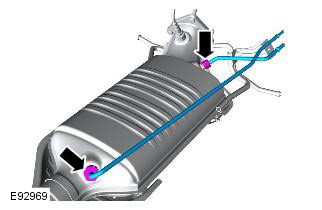
10.
CAUTION: Before disconnecting or removing components, clean the area around mating surfaces and connections. To prevent contamination of the system, plug all open connections.
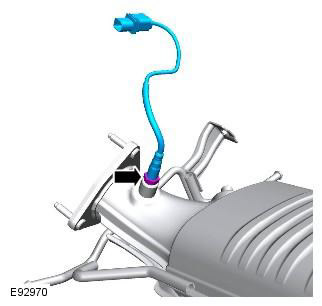
Installation
1. Apply anti-seize lubricant to the sensor and fitting threads. Refer to procedure: Specifications (303-08B Emission Control - 2.2L Duratorq - Td4, Specifications).
2. Install the temperature sensor. Tightening torque: 35 Nm
3. Install the pressure sensor pipes. Tightening torque: 25 Nm
4. Install the pipe clamp. Tightening torque: 10 Nm
5. Install the diesel fuel filter. Tightening torque: 25 Nm
WARNING: Use new nuts.
CAUTION: Clean mating surfaces of any foreign material.
NOTE: Install a new gasket.
6. Connect the electrical connector of the temperature sensor.
CAUTION: Make sure the wiring harnesses are correctly positioned.
7. Connect the sensor hoses.
The alignment marks must be centered. Secure the high pressure hose with a clamp.
8. Install the exhaust systems. Refer to procedure: Exhaust System (309-00A Exhaust System - 3.2L NA - I6, Removal and Installation).
9. Install the lower engine shield. Refer to procedure: Engine Shield (501-02 Front Body Panels, Removal and Installation).
Comments on this article