Contents: Removal ⇩ Installation ⇩
Special tool
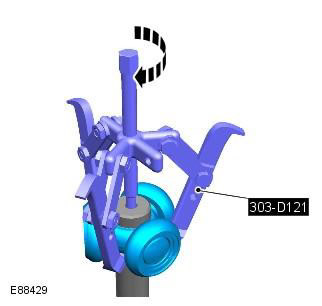
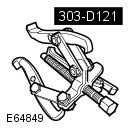 303-D121 Puller, General Purpose 303-D121 Puller, General Purpose |
Removal
1. Raise and support the vehicle.
WARNING: Ensure that the vehicle is supported securely.
2. Remove the halfshaft. Refer to the procedure: Rear Left Halfshaft (205-05 Rear Drive Axle Shafts, Removal and Installation).
3.
NOTE: Discard clamps.
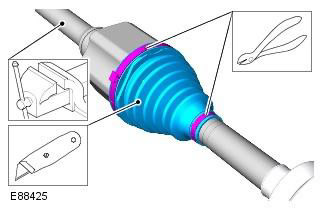
4.
NOTE: Discard clamps.
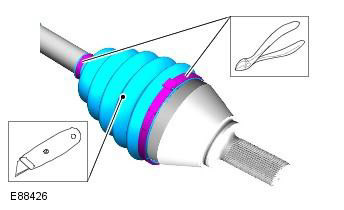
5.
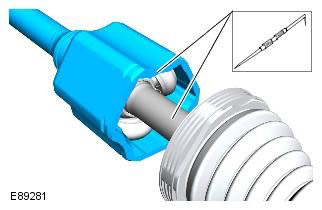
6.
NOTE: Discard the clamp.
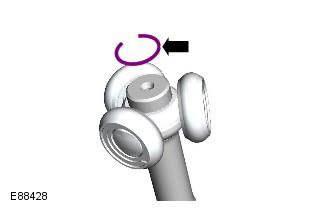
7. Special tool: 303-D121
Installation
1. Clean the elements and check them for deterioration.
CAUTION: Observe absolute cleanliness when handling these items.
2. Install the inner and outer joint boots onto the axle shaft.
[Details can be found on the website: LRMAN.ru]
3. Install the inner constant velocity joint on the axle shaft.
NOTE: Install a new clamp.
4. Install the outer constant velocity joint on the axle shaft.
CAUTION: These components must be installed in the original positions marked during removal.
5. Pack the inner joint with the supplied grease.
6. Pack the outer joint with the supplied grease.
7. Secure the boot to the inner CV joint.
NOTE: Install new clamps.
8. Secure the cover to the outer CV joint.
NOTE: Install new clamps.
9. Install the halfshaft. Refer to the procedure: Rear Left Halfshaft (205-05 Rear Drive Axle Shafts, Removal and Installation).
Comments on this article