Dismantling
1. Lift the cover that covers the spare wheel.
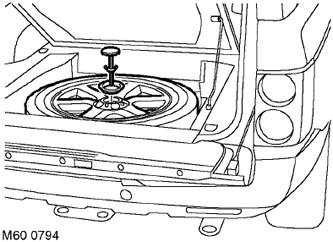
2. Turn away a wing nut of fastening of a spare wheel to the compressor case, turn away a bolt and remove a fixing cup.
3. Remove the spare wheel.
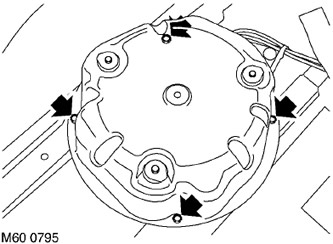
4. Turn away 4 bolts of fastening of knot of the compressor to a car body.
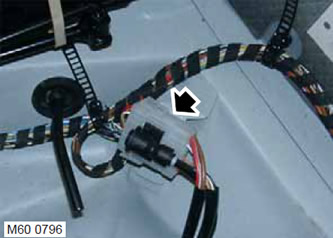
5. Press the retaining ring and disconnect the air hose from the compressor assembly.
6. Disconnect the multi-pin connector from the compressor assembly.
7. Remove the electrical wiring and hose clamps, as well as the cable ties, after noting their exact location.
8. Unfold the multi-pin connector and remove it from the mounting bracket.
9. Remove the compressor assembly.
Assembly
1. Install the compressor assembly. Install the multi-pin connector and fix it on the bracket.
2. Wrap 4 bolts securing the compressor assembly to the body and tighten them with a torque of 8 Nm (6 lb ft).
3. Connect the air hose and multi-pin connector to the compressor assembly.
WARNING: Make sure the large bushing is correctly positioned on the body. Otherwise, water may enter through the bushing into the spare wheel well.
4. Secure wiring harness and hose with cable ties and reinstall cable ties. They must be located exactly on the marks made before dismantling.
WARNING: If the hose and wiring harness are in the wrong position, they could snag on the spare wheel.
5. Place the spare wheel in the niche, install the fixing cup and tighten the wing nut.
6. Lower the cover that covers the spare wheel.
Comments on this article