CAUTION: The crankshaft or camshafts must not be rotated with the timing belt removed.
NOTE: The description of the removal procedure in this manual may include installation steps.
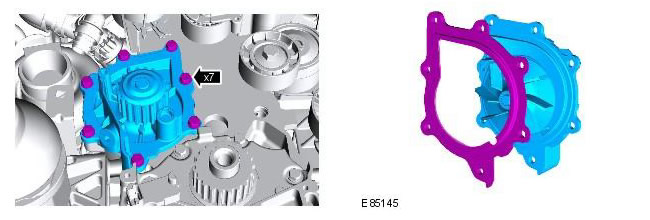
Removing
1. Remove the cover and disconnect the ground wire from the battery. Refer to procedure: Specifications (414-00 Charging system - General information, Specifications).
2. Raise and support the vehicle.
WARNING: Place secure stands under the vehicle.
3. Drain the coolant. Refer to Procedure: Drain/Fill Coolant and Bleed Cooling System (303-03B Engine Cooling - 2.2L Duratorq - Td4, General Procedures).
4. Remove the timing belt and discard it. Refer to Procedure: Timing Belt (303-01B Engine - 2.2L Duratorq - Td4, Removal and installation).
5. Tightening torque: 17 Nm
CAUTION: Mark the installation position of the element before removing it.
NOTE: Clean the element of dirt and grease. Install a new gasket.
Installation
Reinstall the elements in reverse order.
Comments on this article