Contents: Removal ⇩ Installation ⇩
NOTE: Make sure the wiring harness is positioned correctly.
Removal
All cars
1. Remove the air cleaner housing. Refer to procedure: Air Cleaner (303-12B Intake Air Distribution and Filtration - 2.2L Duratorq - Td4, Removal and Installation).
2. Remove the fuel filter. Refer to procedure: Fuel Filter (310-01B Fuel Tank and Lines - 2.2L Duratorq - Td4, Removal and Installation).
3. Remove the engine compartment cover panel. Refer to procedure: Center Bulkhead Panel - 2.2L Duratorq - Td4 (501-02 Front Body Panels, Removal and Installation).
4. Remove the battery bracket. Refer to the procedure: Battery Mounting Tray (414-01 Battery, Battery Mounting and Cables, Removal and Installation).
5. Remove the lower engine cover. Refer to procedure: Engine Cover (501-02 Front Body Panels, Removal and Installation).
6. Remove the front right mudguard. Refer to procedure: Fender Mudguard (501-02 Front Body Panels, Removal and Installation).
7. Raise and support the vehicle.
WARNING: Ensure that the vehicle is supported securely.
8. Tightening torque: 10 Nm
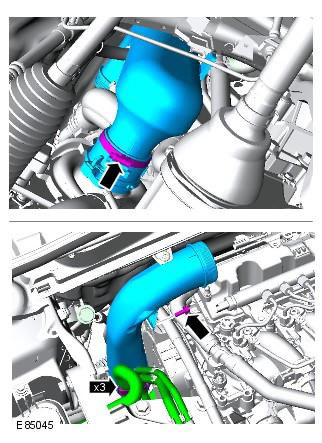
9.
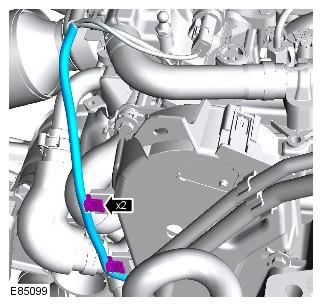
10.
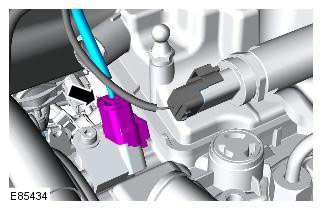
11.
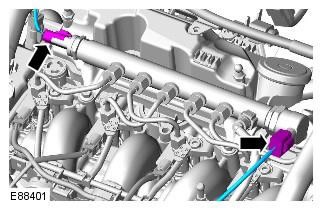
12.
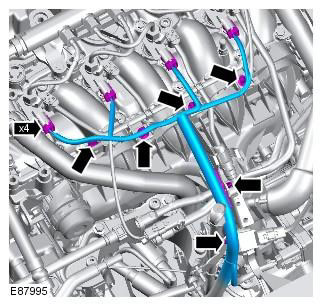
13.
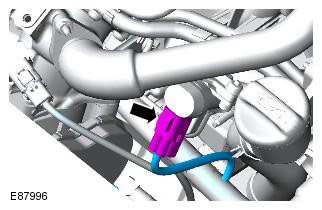
14.
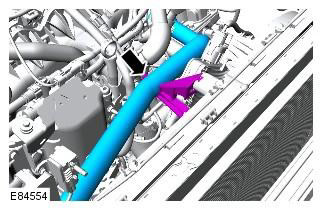
15.
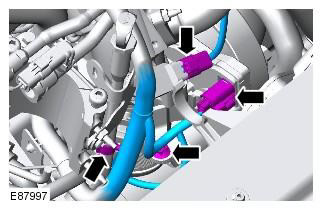
16.
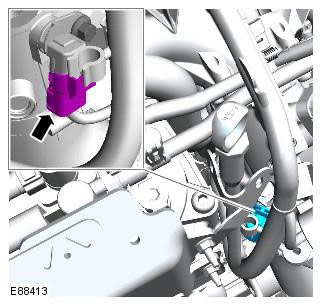
17.
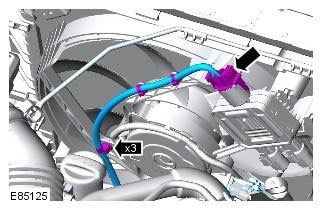
Cars with manual transmission
18.
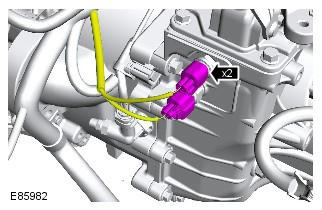
Cars with automatic transmission
19.
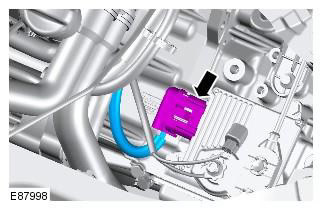
All cars
20. Tightening torque: 6 Nm
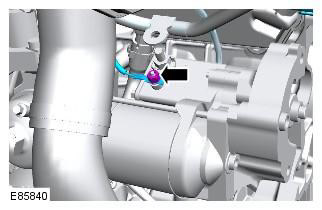
21.
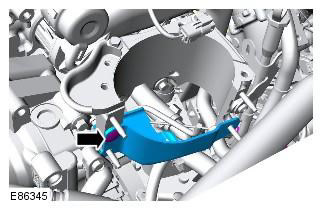
22.
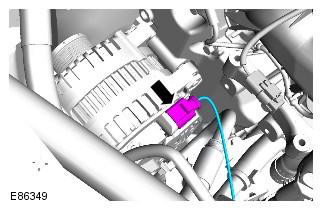
23.
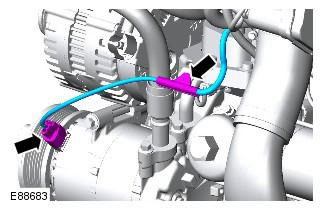
24.
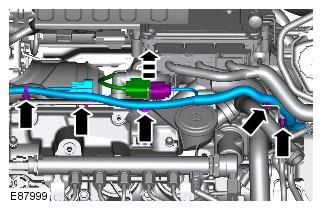
25.
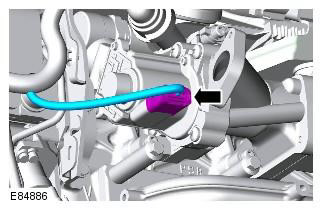
26.
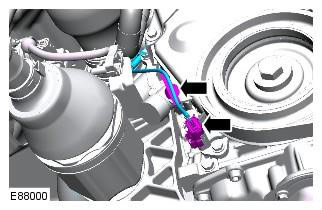
27.
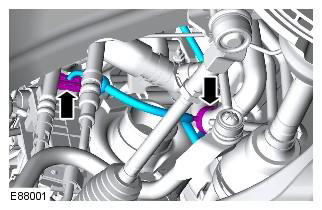
28.
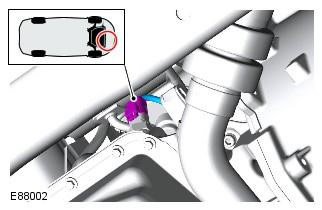
29. Tightening torque: 25 Nm
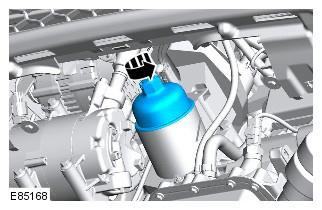
30.
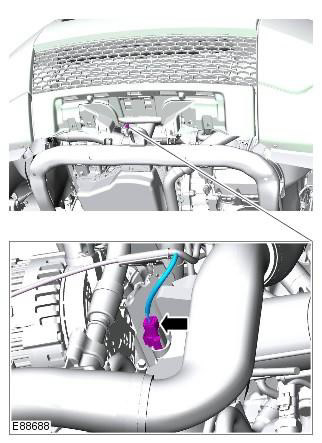
31.
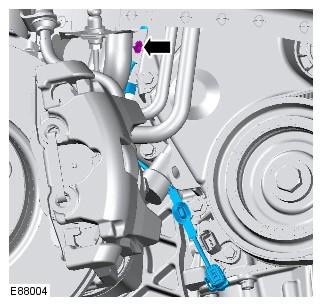
32.
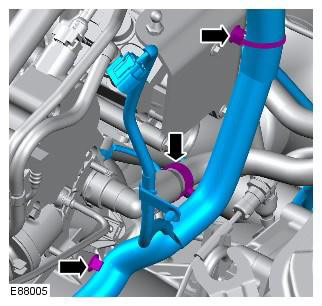
33.
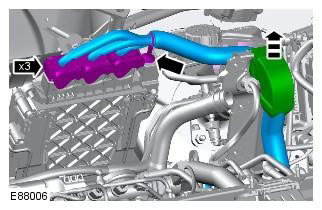
34.
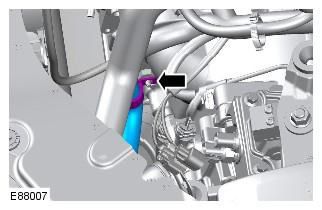
35. Tightening torque: 10 Nm
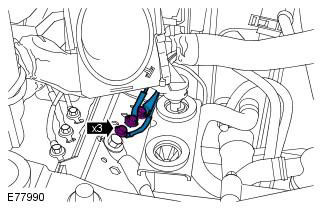
36.
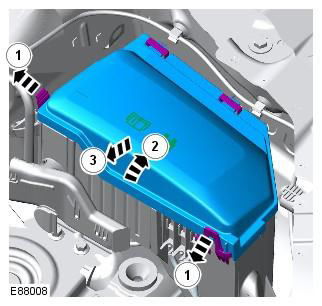
37. Remove the wiring harness from the battery junction box. Tightening torque: 10 Nm
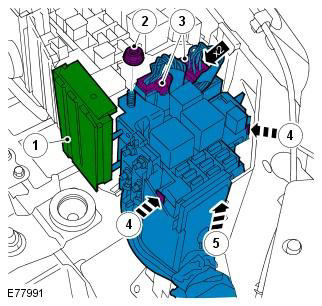
38. Remove the engine wiring harness.
Installation
1. Install the elements back in place in reverse order.
2. Check the engine oil level and top up if necessary.
Comments on this article