Contents: Removal ⇩ Installation ⇩
Special tool
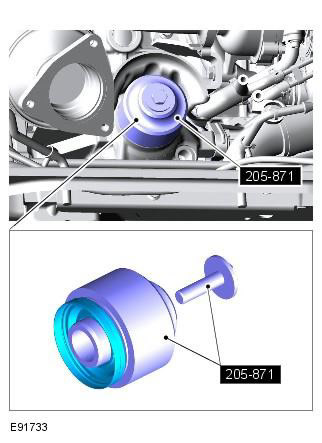
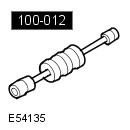 100-012 Slide Hammer 100-012 Slide Hammer | 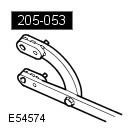 205-053 Retainer, Drive Flange 205-053 Retainer, Drive Flange | 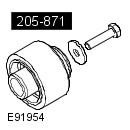 205-871 Installer, Transfer Case Rear Seal 205-871 Installer, Transfer Case Rear Seal |
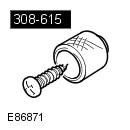 308-615 Remover, Seals 308-615 Remover, Seals | 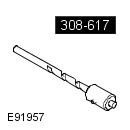 308-617 Depth Drill, Seal Remover 308-617 Depth Drill, Seal Remover |
Removal
1. Raise the vehicle and place it on supports.
WARNING: Ensure that the vehicle is supported securely.
2. Remove the propeller shaft. Refer to the procedure: Propeller Shaft - Vehicles Not Equipped with: Diesel Fuel Filter (205-01 Propeller Shaft, Removal and Installation). Refer to the procedure: Propeller Shaft - Vehicles Equipped with: Diesel Fuel Filter (205-01 Propeller Shaft, Removal and Installation).
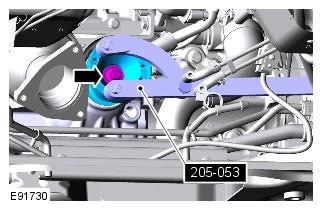
3. Special tool: 205-053. Tightening torque: 48 Nm
CAUTION: Use a new bolt.
NOTE: Place an absorbent cloth to collect any spilled liquid.
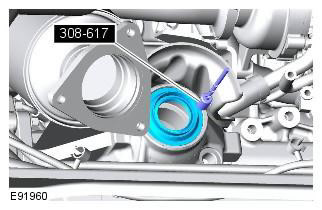
4. Special tool: 308-617
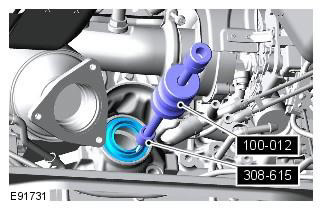
5. Special tool: 308-615, 100-012
Make sure the area around the part is clean and free of foreign particles. Be extremely careful not to damage the mating surfaces.
Installation
1. Special tool: 205-871
2. When installing, perform the removal procedure in reverse order.
3. Install the propeller shaft. Refer to the procedure: Propeller Shaft - Vehicles Not Equipped with: Diesel Fuel Filter (205-01 Propeller Shaft, Removal and Installation). Refer to the procedure: Propeller Shaft - Vehicles Equipped with: Diesel Fuel Filter (205-01 Propeller Shaft, Removal and Installation).
4. Check the transfer case fluid level and add fluid if necessary. Refer to procedure: Checking the Transfer Case Fluid Level (308-07B Transfer Case, General Procedures).
Comments on this article