Contents: Removal ⇩ Installation ⇩
Special tool
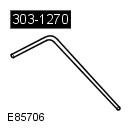 303-1270 Timing Pin, Crankshaft 303-1270 Timing Pin, Crankshaft | 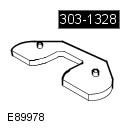 303-1328 Timing Plate, Balance Shafts 303-1328 Timing Plate, Balance Shafts | 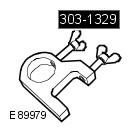 303-1329 Locking Tool, Balance Shafts 303-1329 Locking Tool, Balance Shafts |
NOTE: This procedure contains removal and installation details only, if clearance checking is required it must be performed before the balance shaft assembly is removed from the engine block.
Removal
1. Remove the cover and disconnect the ground cable from the battery. Refer to procedure: Specifications (414-00 Charging System - General Information, Specifications).
2. Raise and support the vehicle.
WARNING: Ensure that the vehicle is supported securely.
3. Remove the right front wheel and tire assembly. Refer to procedure: Wheel and Tire (204-04 Wheels and Tires, Removal and Installation).
4. Remove the oil pan extension. Refer to procedure: Oil Pan Extension (303-01B Engine - 2.2L Duratorq - Td4, Removal and Installation).
5. Remove the starter. Refer to procedure: Starter (303-06B Starting System - 2.2L Duratorq - Td4, Removal and Installation).
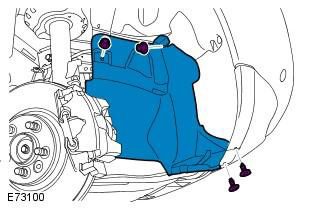
6.
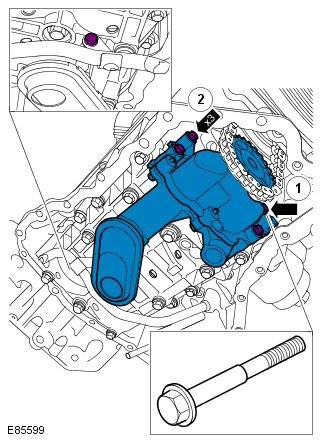
CAUTION: Mark the installation position of the element before removing it.
NOTE: The shoulder bolt in position 1 secures the oil pump.
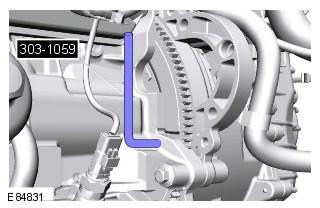
7. Turn the crankshaft and install the injection timing tool. Special tool: 303-1270
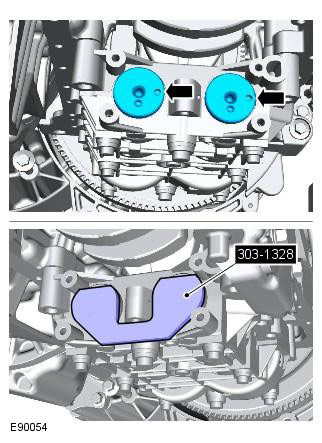
8. Install the balance shaft timing tool. Special tool: 303-1328
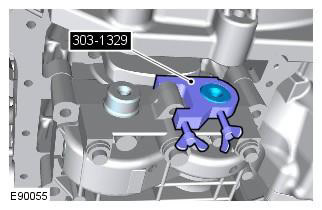
9. Install the balance shaft locking device. Special tool: 303-1329
The original article is located on (LRman.ru)
10. Remove the balance shaft assembly.
CAUTION: Mark the installation position of the element before removing it.
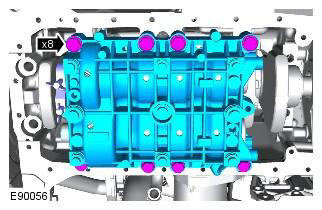
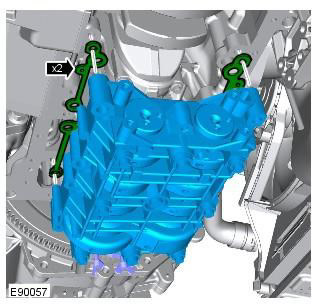
11. Remove 2 adjusting washers.
Make sure that the elements are installed in the original position marked during removal. Observe absolute cleanliness when handling these elements.
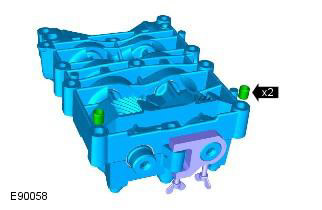
12. Remove the mounting pins.
NOTE: Do not perform further disassembly if the component is removed only for access.
Installation
1. Install the dowel pins.
2. Install the adjusting washers.
Make sure that the elements are installed in the original position marked during removal. Observe absolute cleanliness when handling these elements.
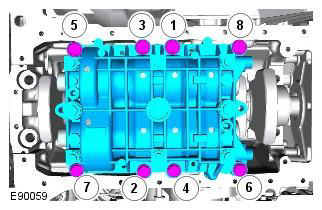
3. Tighten the bolts evenly in 2 stages in the sequence shown. Tightening torque: Stage 1: 5 Nm. Step 2: 22 Nm
CAUTION: Clean mating surfaces and remove any rust or foreign material.
NOTE: Install this item in the position noted during removal.
4. Remove the balance shaft synchronizing and locking device.
5. Tighten the bolts evenly in 2 stages in the sequence shown. Tightening torque: Stage 1: 7 Nm. Step 2: 9 Nm
Clean the mating surfaces from foreign material. Make sure that the elements are installed in the original position marked during removal.
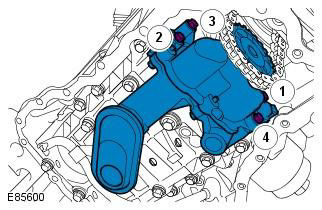
6. Remove the injection timing adjustment device. Special tool: 303-1270
7. Install the oil pan extension. Refer to procedure: Oil Pan Extension (303-01B Engine - 2.2L Duratorq - Td4, Removal and Installation).
8. Install the fender splash guard extension panel.
9. Install the starter. Refer to procedure: Starter (303-06B Starting System - 2.2L Duratorq - Td4, Removal and Installation).
10. Install the front wheel and tire assembly. Refer to procedure: Wheel and Tire (204-04 Wheels and Tires, Removal and Installation).
11. Connect the ground cable to the battery and install the cover. Refer to the procedure: Specifications (414-00 Charging System - General Information, Specifications).
Comments on this article