Special tool
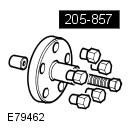 205-857 Remover, Halfshaft 205-857 Remover, Halfshaft |
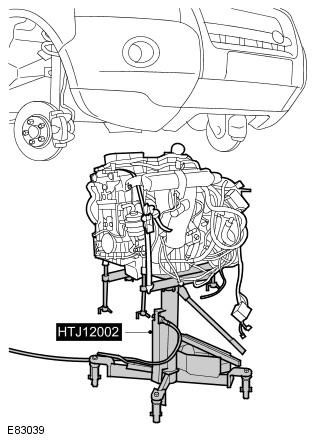
General Equipment: Powertrain Jack
NOTE: In this procedure, the engine is removed with the transmission.
1. Raise the vehicle.
WARNING: Place secure stands under the vehicle.
2. Remove the cover and disconnect the wire "masses" from the battery. Refer to procedure: Specifications (414-00 Charging system - General information, Specifications).
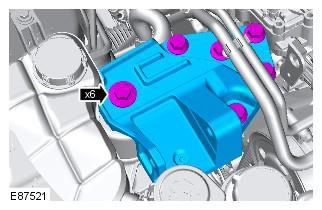
3. Remove the engine cover. Refer to Procedure: Engine Cover - 2.2L Duratorq - Td4 (501-05 Interior trim, Removal and installation).
4. Remove the pressure chamber panel. Refer to Procedure: Mixing Chamber (412-01 Climate control, Removal and installation).
5. Remove the battery console. Refer to procedure: Battery installation shelf (414-01 Battery, battery mount and wires, Removal and installation).
6. Remove the air filter assembly. Refer to Procedure: Air Filter (303-12A Intake air distribution and filtration - 3.2L NA - I6, Removal and installation).
7. Drain the coolant. Refer to Procedure: Drain/Fill Coolant and Bleed Cooling System (303-03B Engine Cooling - 2.2L Duratorq - Td4, General Procedures).
8. Remove the catalytic converter. Refer to Procedure: Catalytic Converter - Vehicle Not Included: Diesel Fuel Filter (309-00B Exhaust system - 2.2L Duratorq - Td4, Removal and installation).
9. Release the refrigerant from the air conditioner. Refer to the procedure: Recycling the refrigerant, evacuating and charging the air conditioning system (A/C) (412-00 Climate control system - General information, General procedures).
10. Remove the lower engine stabilizer bar. Refer to Procedure: Engine Lower Mount Insulator (303-01A Engine - 3.2L NA - I6, Removal and installation).
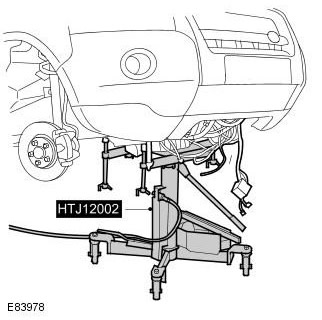
11. Remove the front subframe assembly. Refer to procedure: Front subframe (502-00 Uni-body, subframe and mounting system, Removal and installation).
12. Pump out a working liquid from a tank of the amplifier of a steering.
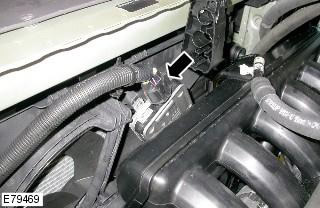
13. Disconnect the engine control unit (ECM).
14. Remove the left and right axle shafts. Special tool: 205-857

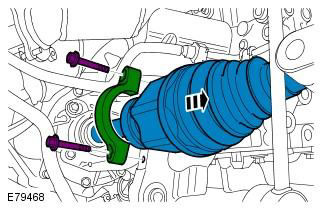
15. Remove the left half shaft.

16. Remove the right half shaft.
17. To gain access, move the suspension arms to the sides and tie them.
18. Disconnect the cooling fan electrical connector.
19. Remove the air intake duct.
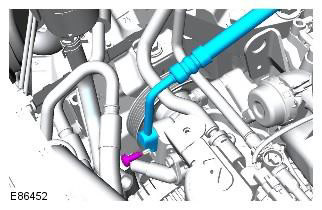
20. Disconnect the return line from the power steering pump.
CAUTION: Be prepared to collect spilled liquid.
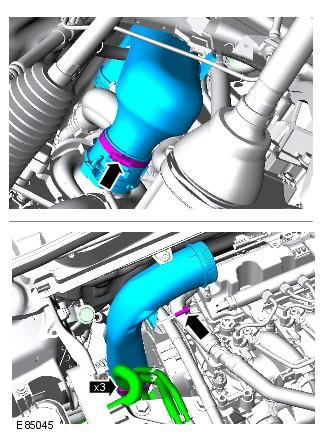
21. Remove the power steering high pressure pipe.
22.
Discard the seal. Plug all openings.
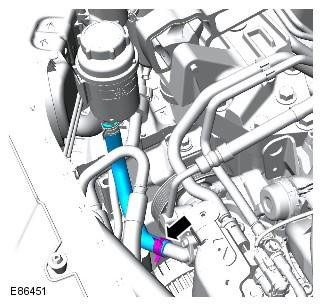
23. Disconnect the A/C compressor refrigerant low pressure line (A/C).
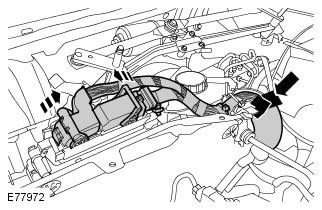
Discard the seal. Plug all openings.
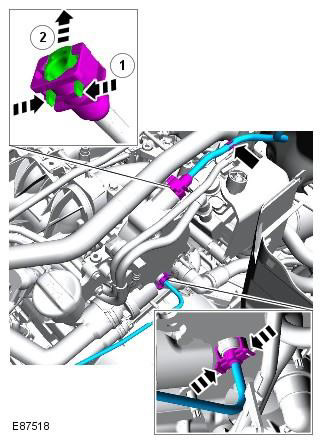
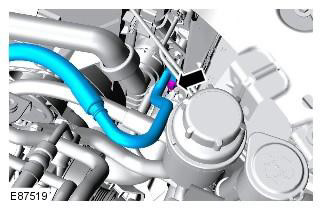
24. Remove the top hose.
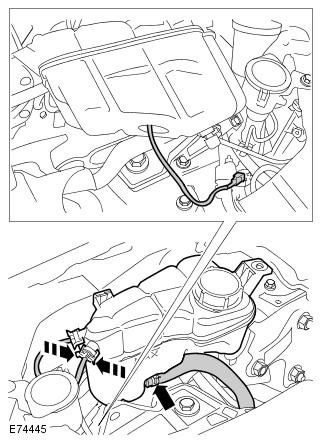
25. Disconnect 2 fuel lines.
CAUTION: Prepare to clean up spilled fuel.
26. Free 2 fuel lines.
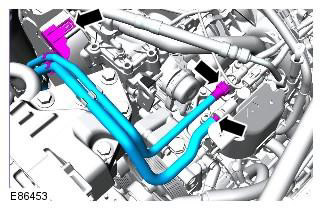
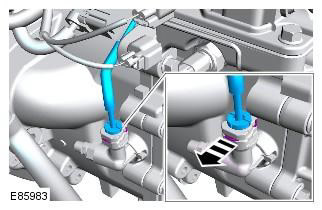
27. Disconnect the bottom hose.

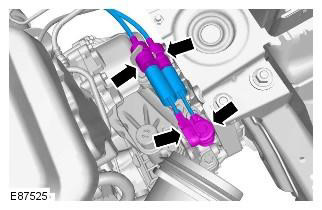
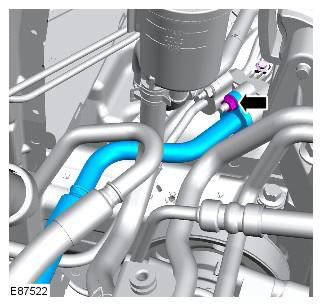
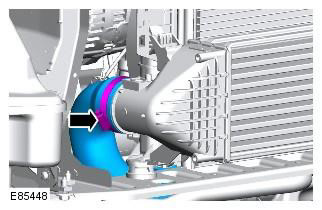
28. Remove the inlet pipeline of the charge air cooler.
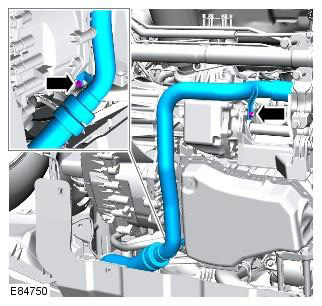
29. Disconnect the charge air cooler outlet hose.
30. Disconnect the engine wiring harness.
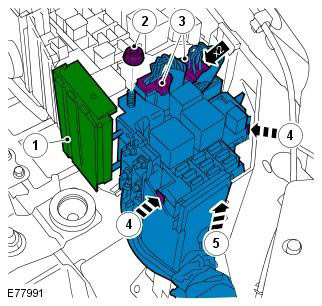
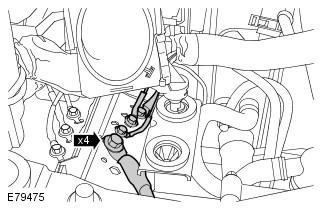
31. Left side: Loosen 4 cables "masses" engine compartment.
32. Remove the expansion tank.
33. Disconnect the drive shaft from the gearbox drive flange.

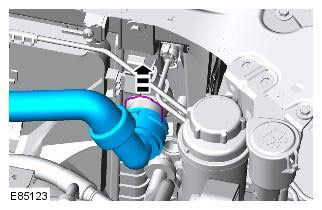
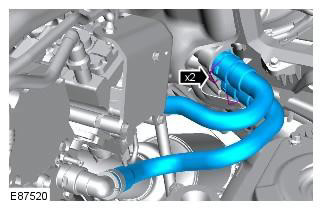
34. Disconnect 2 heater hoses from the bulkhead.
35. Disconnect the clutch fluid hose.
WARNING: If brake fluid comes into contact with the paintwork, the affected area must be washed immediately with cold water.
36. Support the engine. General Equipment: Powertrain Jack
37. Remove the left engine mount bracket.
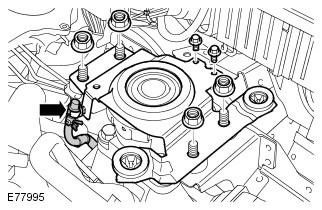
38. Remove the left engine mount.
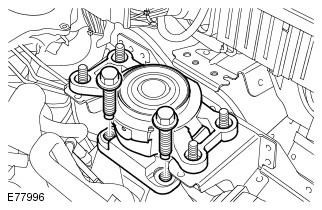
39. Right side: Release the engine mount.
40. With the help of a second mechanic, carefully remove the engine and gearbox.
Comments on this article