Dismantling
1. Remove the battery.
ENGINE START AND CHARGING SYSTEM, REPAIR WORKS, Accumulator battery.
2. Remove the engine control unit (ECM).
ENGINE CONTROL SYSTEM: EDC, REPAIR WORK, Engine control unit (ECM).
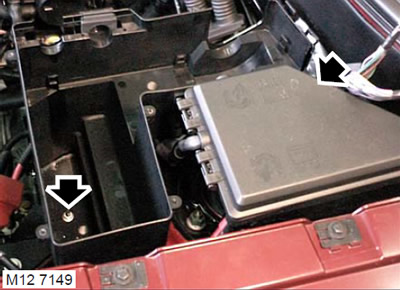
3. Remove the nut that secures the junction box to the bracket.
4. Remove the back box from the bracket.
5. Remove the fuse block cover.
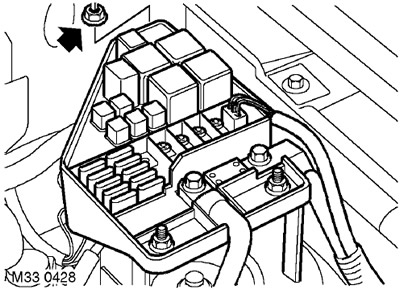
6. Turn away 3 nuts of fastening of the block of safety locks and take away the block aside.
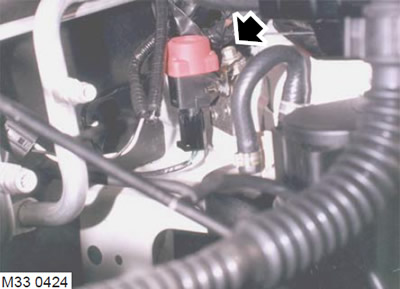
7. Turn away a bolt of fastening of an arm of the inertial switch and take away the switch aside.
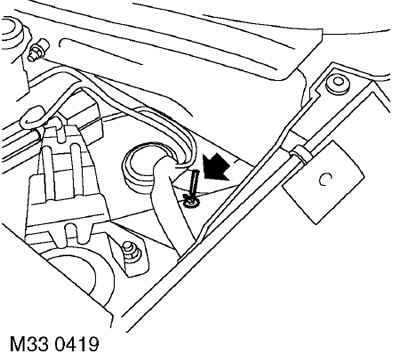
8. Carefully cut off the flexible tie and lay the wire harness aside.
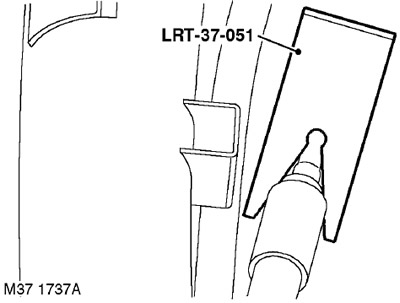
9. Using tool LRT-37-051, disconnect and disconnect the clutch actuator tube.
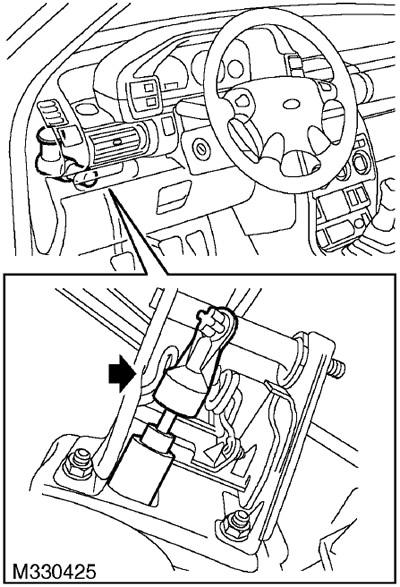
10. Remove the clutch master cylinder rod from the clutch pedal.
11. Turn the clutch master cylinder clockwise, remove it from the bulkhead and from the vehicle.
Installation
1. Install the master cylinder on the bulkhead and turn it counterclockwise to secure.
2. Install the master cylinder rod on the clutch pedal.
3. Wipe the clutch tube hydraulic connector.
4. Connect the clutch hydraulic pipe.
5. Lay the wire harness in place and secure it with a new tie.
6. Reinstall the inertial switch and tighten the fastening bolt to 8 Nm.
7. Install the fuse box, fit the nuts and tighten them to 8 Nm.
8. Replace the fuse block cover.
9. Install the mounting box bracket in place and tighten the fastening nuts to a torque of 8 Nm.
10. Install the engine control unit (ECM).
ENGINE CONTROL SYSTEM: EDC, REPAIR WORK, Engine control unit (ECM).
11. Install the battery.
ENGINE START AND CHARGING SYSTEM, REPAIR WORKS, Accumulator battery.
Comments on this article