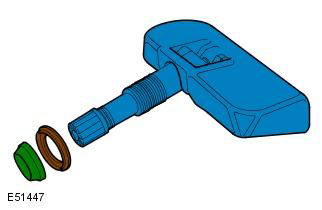
WARNING: The valve seal and steel washer must be replaced every time a tire is changed to eliminate the risk of seal failure. The seal and washer must also be replaced when the sensor is removed. Unscrewing the sensor mounting nut is regarded as removing the sensor itself. The cap must always be on the valve, except when inflating a tire, releasing pressure or checking tire pressure.
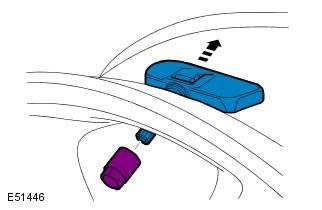
NOTE: If the sensor is replaced with «working» wheel, the identification data of the new sensor will be obtained after the first drive. If the sensor on the spare tire is replaced, the identification code of the new sensor must be programmed into the tire pressure monitoring system module (TPMS), using diagnostic equipment prescribed by Land Rover. The identification code is located on the sensor kit packaging label and is also printed on the body of each sensor.
Removing
1. Raise and support the vehicle.
WARNING: Place secure stands under the vehicle.
2. Remove the wheel. Refer to procedure: Wheel and tire (204-04 Wheels and tires, Removal and installation).
3. Remove the tire from the wheel.
CAUTION: To avoid damage to the low tire pressure sensor, start releasing the tire bead from the wheel rim 180 degrees from the valve.
4.
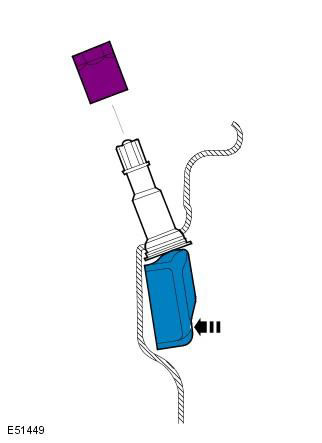
- Loosen and discard the nut.
- Release the sensor and remove it parallel to the valve axis.
5. Remove and discard seal and washer.
Installation
1. Install a new seal and washer, making sure the valve remains fully recessed in its seat.
Clean the element of dirt and grease. Do not use compressed air to clean the sensor.
2.
- Install a low tire pressure sensor.
- Install the nut and tighten by hand while holding the sensor.
- Tighten the nut. Tightening torque: 8 Nm
CAUTION: Clean the element of dirt and grease.
3. Install the tire and balance the wheel.
4. Install the wheel. Refer to procedure: Wheel and tire (204-04 Wheels and tires, Removal and installation).
Comments on this article