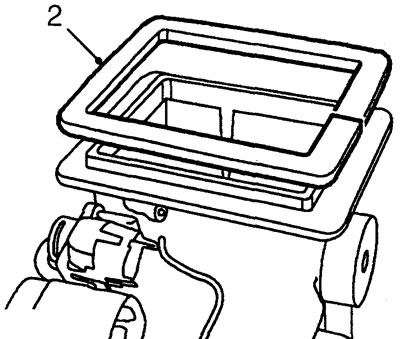
2. Remove the upper ceiling light and evaporator air duct flange seal.
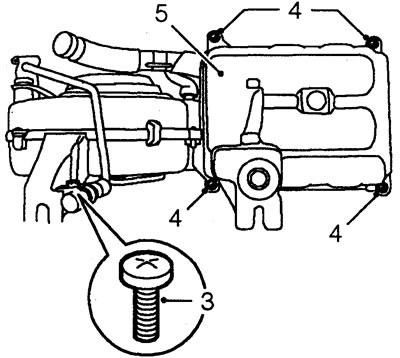
3. Unscrew the screw securing the clip of the discharge tube "P" to the body.
4. Unscrew the 4 screws securing the evaporator to the bottom of the housing.
5. Remove the lower part of the case.
6. Remove the expansion valve insulator and the valve sensing element.
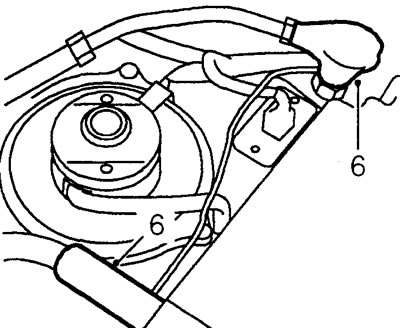
7. Loosen the nuts securing the tubes to the discharge valve (hold the valve with the second key).
8. Disconnect the tubes and discard the sealing rings.
9. Plug the holes of the pipes and valve.
10. Disconnect the clip securing the sensing element to the expansion valve.
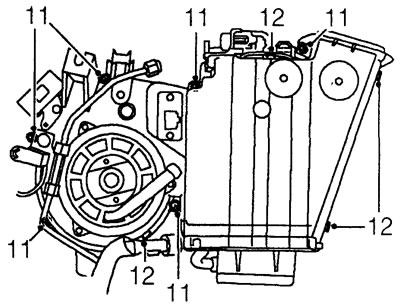
11. Unscrew the 6 screws securing the evaporator housing halves.
12. Disconnect the 4 clips securing the evaporator housing halves.
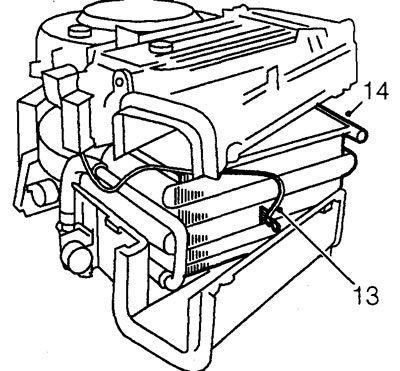
13. Separate the housing halves so that the thermostat sensing element can be removed from the evaporator grille.
14. Remove the evaporator.
15. Installation is carried out in reverse order. Install new sealing rings and insulators.
Comments on this article