Contents: Removal ⇩ Installation ⇩
Special tool
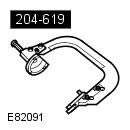 204-619 G-Clamp 204-619 G-Clamp | 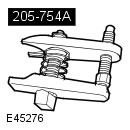 205-754A Splitter, Ball Joints 205-754A Splitter, Ball Joints | 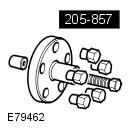 205-857 Remover, Halfshaft 205-857 Remover, Halfshaft |
NOTE: The seal protector sleeve is not a special tool, but is included in the spare parts catalog.
Removal
1. Remove the collection chamber panel. Refer to procedure: Mixing Chamber (412-01 Climate Control, Removal and Installation).
2. Release the hood support posts and secure the hood in a vertical position.
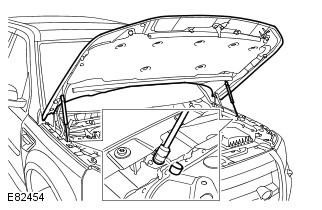
3. Raise and support the vehicle.
WARNING: Ensure that the vehicle is supported securely.
4. Remove the wheel. Refer to the procedure: Wheel and Tire (204-04 Wheels and Tires, Removal and Installation).
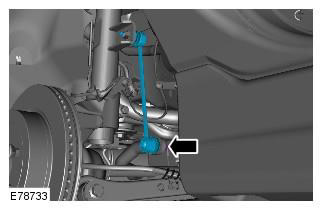
5. Tightening torque: 60 Nm
WARNING: Use a new nut.
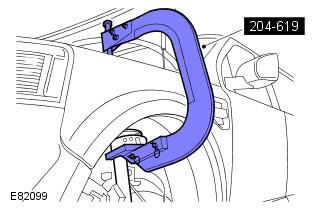
6. Compress the spring assembly with the shock absorber. Special tool(s): 204-619
NOTE: This step requires the assistance of a second mechanic.
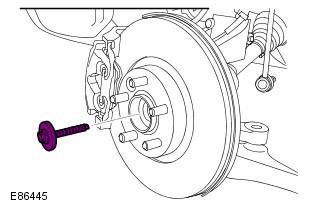
7. Tightening torque: Step 1: 45 Nm. Step 2: 60°
WARNING: Use a new bolt.
8. Partially release the axle shaft from the hub support. Special tool: 205-857
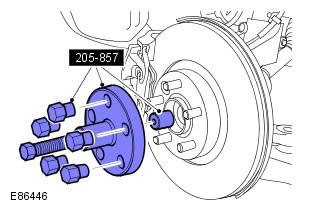
9. Partially release the axle shaft from the hub support.
CAUTION: To avoid damage to the ball joint, do not allow the axle shaft to hang unsupported at one end.
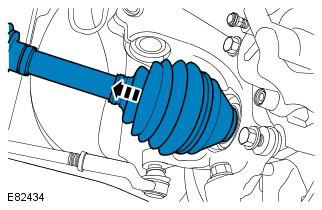
10. Tightening torque: 100 Nm
CAUTION: Install a new lower control arm ball joint nut.
CAUTION: Do not allow the ball joint to rotate.
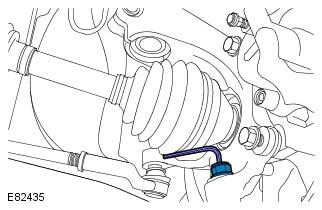
11. Special tool: 205-754A
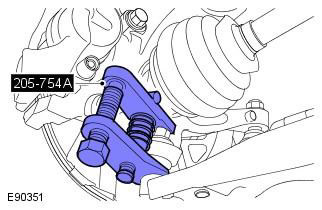
12. Remove the axle shaft from the hub support.
CAUTION: Do not use a hammer to separate the axle shaft from the hub assembly, failure to do so may result in damage to the axle shaft.
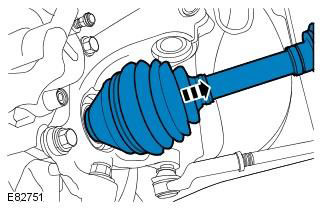
13.
WARNING: Manual transmission: Fluid leakage is inevitable, use an absorbent cloth or install a container to collect the fluid.
Installation
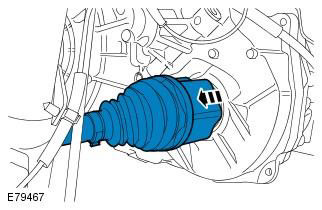
1. To avoid damaging the oil seal, use a protective sleeve when installing the axle shaft into the gearbox. This is not a special tool, but it is included in the spare parts catalog.
NOTE: Do not fully insert the axle shaft until the oil seal guard has been removed.
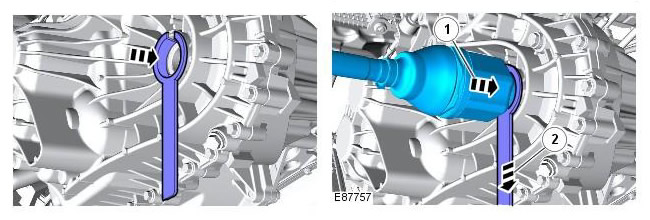
2. When installing, perform the removal procedure in reverse order.
Tighten the axle nut by hand.
Do not use an air tool to install the nut. Failure to do so may result in damage to this component.
Data taken from the website: LRMAN.ru
3. Manual Transmission Vehicles Only: Check the transmission fluid level and add fluid if necessary. Refer to: Checking the Transmission Fluid Level (308-03 Manual/Transaxle Transaxle, General Procedures).
Comments on this article