Contents: Removal ⇩ Installation ⇩
Special tool
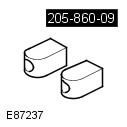 205-860-09 Installer, Differential Bushing 205-860-09 Installer, Differential Bushing | 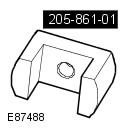 205-861-01 Remover, Differential Bushing 205-861-01 Remover, Differential Bushing | 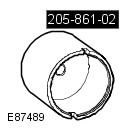 205-861-02 Remover/Installer, Differential Bushing 205-861-02 Remover/Installer, Differential Bushing |
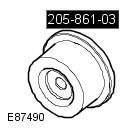 205-861-03 Installer, Differential Bushing 205-861-03 Installer, Differential Bushing | 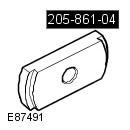 205-861-04 Installer, Differential Bushing 205-861-04 Installer, Differential Bushing | 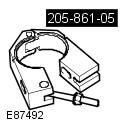 205-861-05 Installer, Differential Bushing 205-861-05 Installer, Differential Bushing |
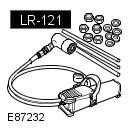 LR-121 Hydraulic Cylinder 10t LR-121 Hydraulic Cylinder 10t |
Removal
1. Raise and support the vehicle.
WARNING: Ensure that the vehicle is supported securely.
2. Remove both rear wheel and tire assemblies. Refer to procedure: Wheel and Tire (204-04 Wheels and Tires, Removal and Installation).
3. Remove the rear differential. Refer to procedure: Differential Case (205-02 Rear Drive Axle/Differential, Removal and Installation).
4. Remember the installation position of the rear bushings. The right bushing connector is vertical, and the left bushing connector is horizontal.
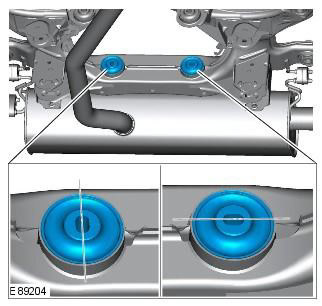
(Original version of the article on the website LRMAN.RU)
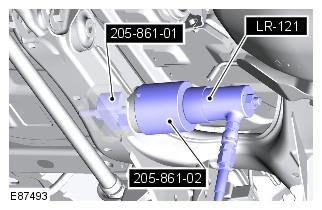
5. Using the special tool, remove the bushing. Special tool: 205-861-01, 205-861-02, LR-121
CAUTION: Mark the installation position of the element before removing it.
Installation
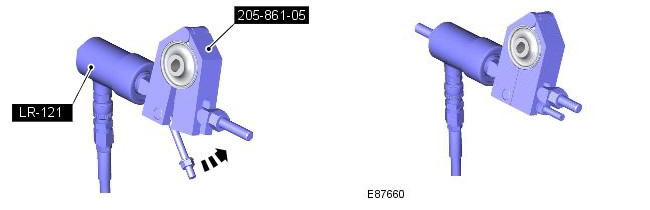
1. Using a special tool, crimp the bushing. Special tool: 205-860-09, 205-861-05, LR-121
CAUTION: Use only the specified special tool.
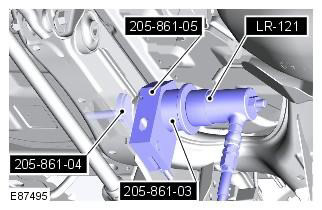
2. Using the special tool, install the bushing, making sure that the right bushing is vertical and the left bushing connector is horizontal. Special tool: LR-121, 205-861-04, 205-861-03, 205-861-05
3. Install the rear differential. Refer to the procedure: Differential Case (205-02 Rear Drive Axle/Differential, Removal and Installation).
4. Install the rear wheel and tire assemblies. Refer to procedure: Wheel and Tire (204-04 Wheels and Tires, Removal and Installation).
Comments on this article