Contents: Removal ⇩ Installation ⇩
Special tool
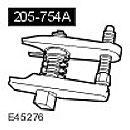 Ball Joint Puller 205-754(LRT-54-027)
 |
Removal
1.
CAUTION: Do not work on or under a vehicle that is supported only by a jack. Always support the vehicle securely.
Raise and support the vehicle.
2. Remove the front wheel.
3. Loosen the outer tie rod end ball joint nut.
4. Loosen the outer tie rod end lock nut.
5. Using a special tool, disconnect the ball joint of the tie rod end from the wheel knuckle. Unscrew and discard the tie rod end mounting nut.
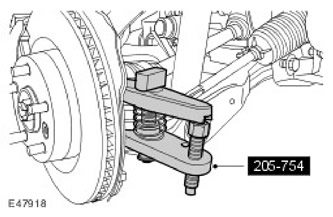
6. Remove the outer tie rod end and record the number of turns for installation.
The original text was published on the website lrman.ru
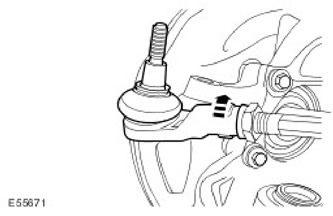
7. Loosen the outer tie rod end lock nut.
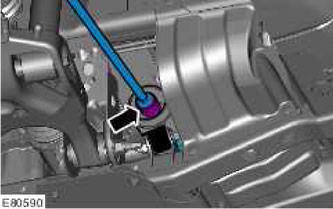
8. Remove the steering gear boot. Release the 2 clamps.
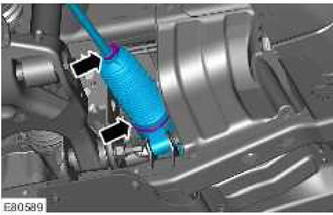
9. Remove the inner tie rod end. Loosen the nut.
Installation
1. Install the inner tie rod end. Tighten the nut. (tightening torque 100 Nm).
2. Install the steering gear boot. Secure the clamps.
3. Loosen the outer tie rod end lock nut.
4. Install the tie rod end by tightening it the required number of turns until it touches the lock nut.
5.
CAUTION: To avoid damaging the tie rod end, use an additional wrench when loosening and tightening connections.
Attach the tie rod end ball joint.
- Clean the contact surfaces of the parts.
- On vehicles with an M12 nut, install a new nut and tighten to 76 Nm (56 lbf·ft).
- On vehicles with an M14 nut, install a new nut and tighten to 150 Nm (111 lbs/ft).
6. Tighten the steering rod lock nut.
- Clean the contact surfaces of the parts.
- Tighten the nut (tightening torque 55 Nm).
7. Install the front wheel. Tighten the wheel nuts to 140 Nm.
8. Lower the car.
9. Check and adjust wheel alignment using only Land Rover recommended four-wheel alignment equipment.
Comments on this article