Special tool
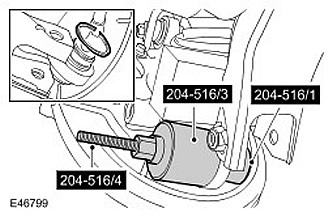
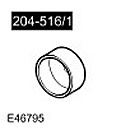 Ball joint remover/mounter 204-516/1 (LRT-64-026/1)
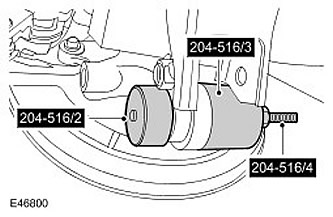
 | 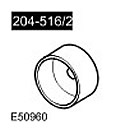 Tool for dismantling/mounting ball joints 204-516/2 (LRT-64-026/2)
 | 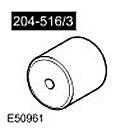 Ball joint remover/mounter 204-516/3 (LRT-64-026/3)
 |
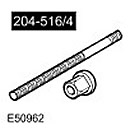 Ball joint remover/mounter 204-516/4 (LRT-64-026/4)
 | 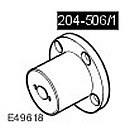 Tool for dismantling/replacing axle shafts 204-506/1 (LRT-60-030/1)
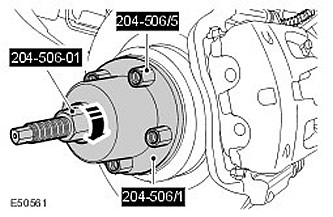
 |  Tool for dismantling/replacing axle shafts 204-506/3 (LRT-60-030/3)
 |
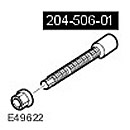 Axle mount adapter 204-506-01
 | 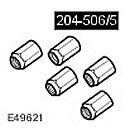 Holders - tool for dismantling/replacing axle shafts 204-506/5 (LRT-60-030/5)
 |
Removing
WARNING: Do not use the toe-to-knuckle adjustment link bolt if the bolt has been used more than 5 times. Mark a dot in the center of the bolt head.
1.
WARNING: It is forbidden to carry out work on a vehicle standing on only one jack. Always support the vehicle with jack stands.
Raise and support the vehicle.
2. Remove the wheel.
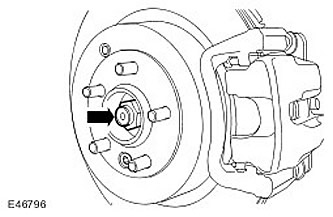
3. Loosen the axle nut.
4. Disconnect the toe adjustment rod.
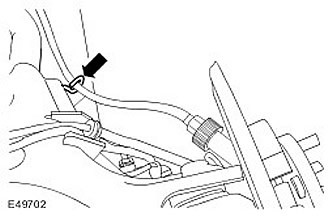
5. Disconnect the parking brake cable from the lower arm.
6. Loosen the axle shaft nut.
7. Release the wheel knuckle from the lower arm. Turn out a bolt.
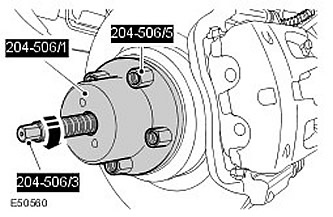
8. Using the special tools, disconnect the axle shaft from the wheel hub.
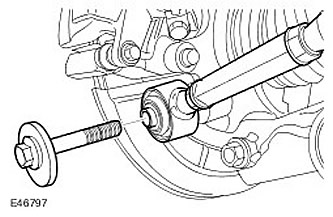
9. Using the special tool, remove the lower arm ball joint.
- Hold the wheel knuckle to gain access to the lower ball joint.
- Remove the snap ring and discard it.
Installation
1.
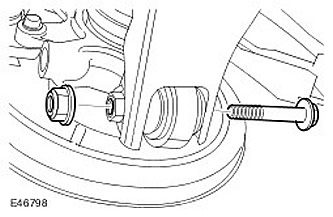
ATTENTION: If the indentation resistance is less than 10 kN, the wheel knuckle must be replaced.
CAUTION: Make sure the ball joint is installed on the chamfered side of the wheel knuckle.
Using the special tool, install the lower arm ball joint. Install retaining ring.
2. Using the special tools, insert the axle shaft into the wheel hub.
3.
CAUTION: Make sure that the protective boot of the ball joint is not damaged. Damage to the protective cover leads to premature failure of the hinge.
Attach the lower arm to the wheel knuckle. tighten bolt (tightening torque 175 Nm).
4. Install a new axle nut and tighten slightly.
5. Attach the parking brake cable.
6.
CAUTION: Do not use a bolt that has been used more than 5 times. Check the bolt head for center punched points. A bolt head with 4 center punched points indicates that the bolt has been installed 5 times and needs to be replaced.
Attach the toe adjustment rod.
- Wrap the bolt (tightening torque 175 Nm).
- Mark the center of the bolt head with a dot indicating how many times it has been used.
7. Tighten the axle nut (tightening torque 350 Nm). Fasten the nut on the axle shaft.
8. Install the wheel.
9. Adjust wheel geometry.
Comments on this article