Removal
1. Remove the timing wheel retaining ring from the distributor shaft.
2. Remove the flat washer and sealing ring installed in the timing wheel.
3. Carefully remove the timing wheel.
Note: The drive is located under the wheel.
4. Remove the three support posts and the rubber wire plug. Remove the sensor from the board.
Note: Do not loosen the two barrel-shaped clearance adjustment nuts, otherwise you will have to adjust the clearance between the sensor core and the synchronizing wheel protrusions.
5. Check the resistance of the sensor winding (normally 2 - 5 kOhm), replace the sensor if necessary.
Assembly
6. Assembly is carried out in the reverse order, while:
a) Apply a drop of clean engine oil to the shaft sleeve groove
b) lubricate with Omnilube 2 oil (or its equivalent):
- ignition timing adjustment mechanism; central bearing of the sensor board;
- centrifugal regulator spring and its cover; vacuum regulator rod end.
Installation
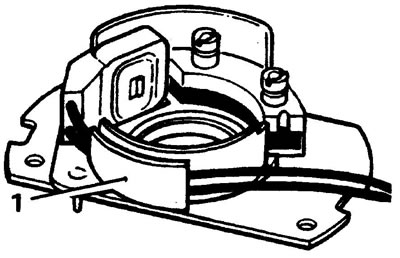
1. Place the sensor wires in the plastic guides as shown in the figure.
2. When installing the synchronizing wheel, make sure that it is securely engaged with the drive.
Gap adjustment
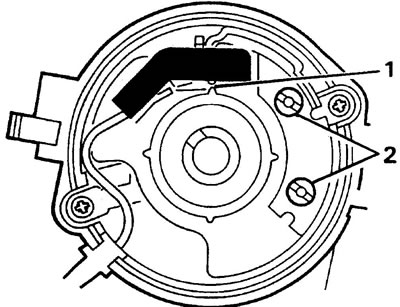
1. Checking and adjusting the gap is carried out using a non-magnetic feeler gauge.
2. Loosen the two barrel nuts securing the sensor unit and adjust the gap by turning the unit.
3. Before installing the amplifier, apply MS4 Silicone grease or equivalent heat-conducting grease to the amplifier mating surfaces.
Comments on this article