Contents: Removal ⇩ Installation ⇩
NOTE: The water drain panel section is cut from the water drain panel which is a separate welded panel.
Removal
1. In combination with the water drain panel section, the following is replaced:
- Rear bumper trim
- Rear bumper fittings
- Lifting tailgate
- Rear side panel
- Rear light mounting panel
2. For additional information regarding this repair procedure, refer to: For additional information, refer to: Body and Frame (501-26 Body Repairs - Special Vehicle Information and Tolerance Checks, Description and Operation) / Standard Service Station Techniques (100-00 General Information, Description and Operation).
3. Remove the rear quarter panel. For more information, refer to the chapter: Rear Quarter Panel (501-30 Rear Sheet Metal Repairs, Removal and Installation).
4. Remove the tail light mounting panel. For more information, refer to the chapter: Tail Light Mounting Panel (501-30 Tailgate Sheet Metal Repairs, Removal and Installation).
5. Mill out the weld spots.
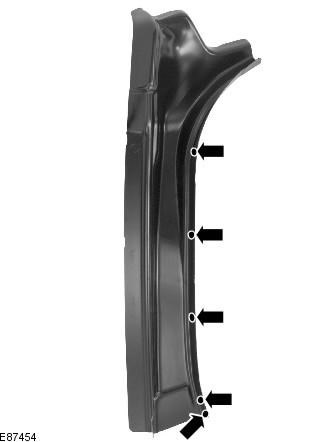
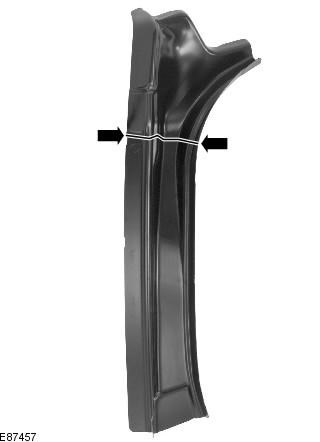
6. Cut the old panel at the point shown, using the new panel as a reference, making sure the new panel will overlap.
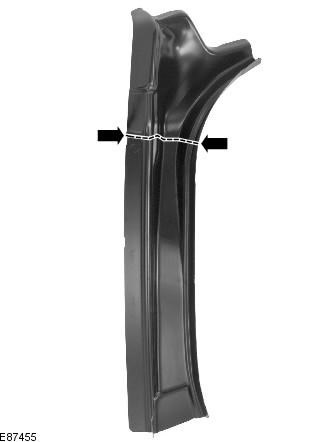
7. Separate the connections and remove the old panel.
Installation
1. Place the new panel, align it and clamp it in place, overlapping the old panel. Cut through the new and old panels at the point where the MIG butt joint is to be made.
2. Remove the new panel and the remains of the old one.
3. Prepare the connecting surfaces of the old and new panels.
4. Apply the new panel and fix it in place. Check the alignment, if correct, proceed to the next step, if not, correct and check again before proceeding to the next step.
5. Tack the butt joint.
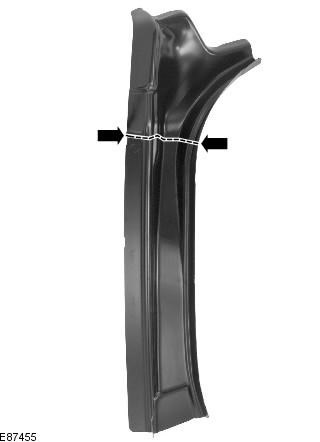
6. Perform spot welding.
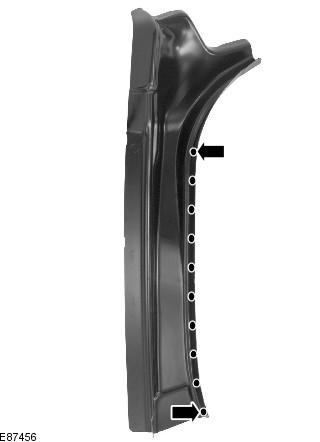
7. Clean the tack welds.
8. Perform butt welding using MIG technology.
9. Clean all welded joints.
10. To install the relevant panels and mechanical components, perform the removal procedure in reverse order.
Comments on this article