Contents: Removal ⇩ Installation ⇩
Special tool
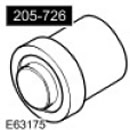 Removal/installation tools (LRT-54-015) 205-726 Removal/installation tools (LRT-54-015) 205-726 | 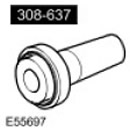 Seal Installation Tool 308-637 Seal Installation Tool 308-637 | 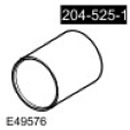 Mounting device 204-525/1 Mounting device 204-525/1 |
Removal
1. Disconnect the ground cable from the battery. For more information, refer to Specification.
2.
CAUTION: Never work on a vehicle supported solely by a jack. Always support the vehicle securely.
Raise and support the vehicle.
3. Drain the liquid from the transfer case. For more information, refer to Draining transmission fluid from the transfer Case and pouring transmission Fluid into the transfer Case (41.20.04)
4. Remove the transfer case. For more information, refer to Transfer Case - 4.4L (41.20.25.99)
5. With the help of an assistant, secure the transfer case to a flat surface with the surface that contacts the gearbox facing down. Secure it with 2 bolts.
6.
CAUTION: Always use eye protection.
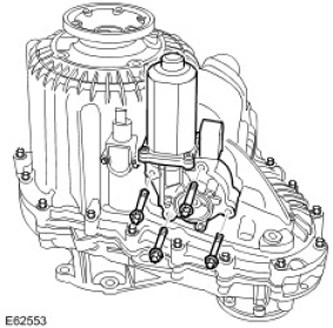
Remove the shift motor.
- Remove 4 bolts.
- Remove any foreign matter from the bolt holes.
7.
CAUTION: Always use eye protection.
Remove the 17 Torx bolts securing the transfer case housing.
- The 2 bolts shown in the figure must remain fully tightened.
- Remove any foreign matter from the bolt holes.
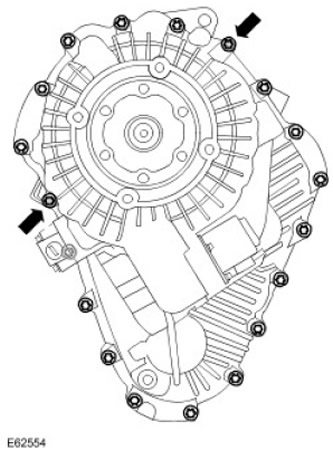
8.
CAUTION: Always use eye protection.
CAUTION: Be careful not to damage mating surfaces.
Remove the rear half of the transfer case.
- Remove the 2 remaining Torx bolts
- Remove any foreign matter from the bolt holes.
- Use a soft-headed hammer.
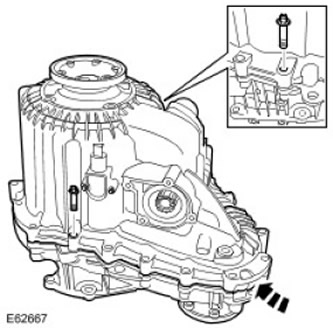
9. Remove the differential block. Remove the spacer sleeve.
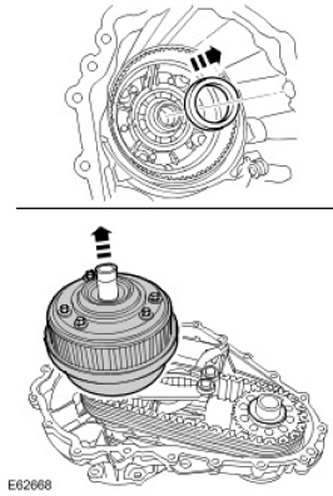
10.
NOTE: Remove parts as an assembly.
Remove the clutch, chain and sprocket.
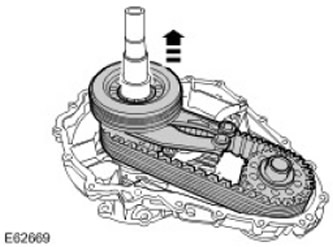
11. Remove the rear outlet flange.
- Compress the retaining ring.
- Press the flange through the bearing.
- Remove and discard the retaining ring.
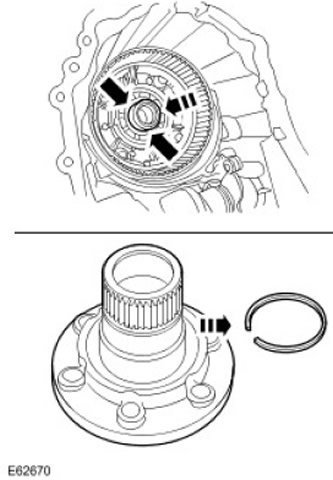
12.
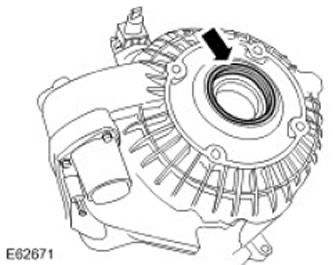
CAUTION: Be careful not to damage the sliding surface and the seal guide surface.
Remove the outlet flange seal.
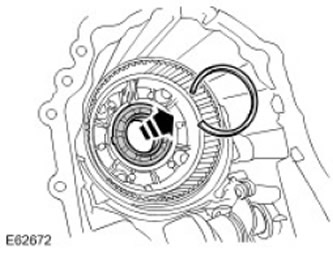
13. Remove the output flange bearing. Remove the retaining ring.
14. Remove the front half of the transfer case from the flat surface. Remove the 2 bolts.
Installation
1. Remove the sealant from the transfer case mating surfaces.
2. Clean the magnetic filter.
3.
CAUTION: The rounding on the inner ring of the bearing must face the seal.
The full version is available on the website www.lrman.ru
Using a special tool, install the output flange bearing.
- Clean the mating surfaces of the parts.
- Install the retaining ring.
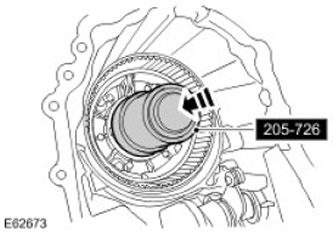
4. Using a special tool, install a new oil seal.
- Clean the contact surfaces of the parts.
- Lubricate the new seal.
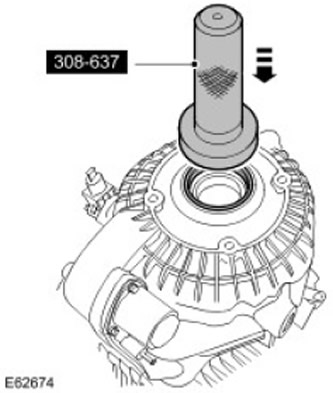
5.
CAUTION: Before installing the output flange, center the retaining ring in the retaining ring groove.
CAUTION: Be very careful that the retaining ring enters the bearing at a right angle.
With the help of an assistant, using a special tool, install the drive flange.
- Clean the contact surfaces of the parts.
- Install a new snap ring.
- Make sure the retaining ring is fully engaged and secures the drive flange.
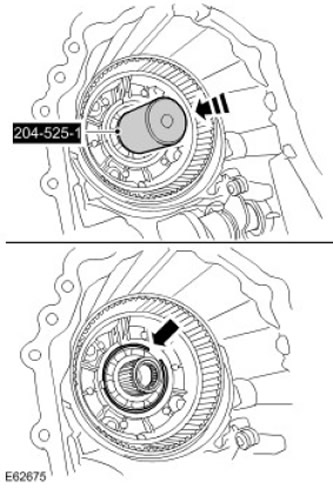
6. Secure the rear half of the transfer case with the rear surface facing down to a flat surface.
7.
NOTE: Rotate the differential to engage the splines.
Install the differential block.
- Clean the parts.
- Install the spacer sleeve.
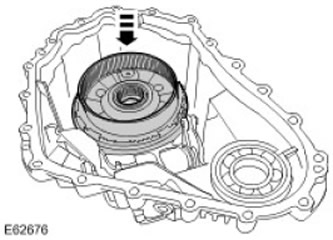
8.
NOTE: Rotate the assembly to engage the clutch discs.
NOTE: To open the actuator levers, use the tongs to remove and install the locking rings.
Install the coupling.
- Clean the parts.
- Engage the actuator levers.
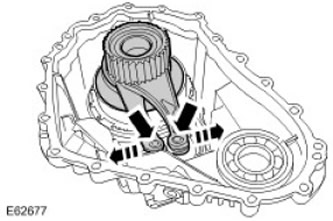
9.
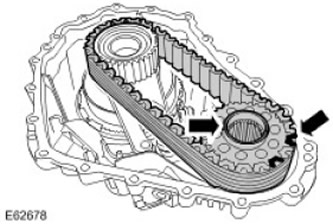
NOTE: The dark links of the chain must face up as shown in the picture.
NOTE: The splined inner hole of the sprocket must face up as shown in the illustration.
Install the chain and sprocket. Clean the parts.
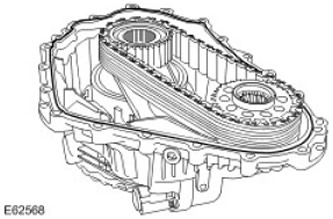
10. Apply a 2mm wide bead of sealant to one of the transfer case mating surfaces as shown in the figure.
- Clean the contact surfaces of the parts.
- Clean the pins and pin holes.
- Apply a 2mm wide bead of sealant to one of the transfer case mating surfaces as shown in the figure.
11. Install the front half of the transfer case. Tighten the 2 Torx bolts evenly to 35 Nm.
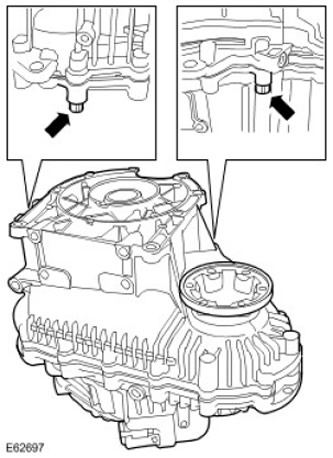
12. Tighten the remaining Torx bolts to 35 Nm.
13. Install the shift motor.
- Clean the parts.
- Tighten the Torx bolts to 25 Nm.
15. Install the transfer case. For more information, refer to Transfer Case - 4.4L (41.20.25.99)
16. Fill the transfer case with the recommended liquid. For more information, refer to Draining transmission fluid from the transfer Case and pouring transmission Fluid into the transfer Case (41.20.04)
17. Connect the ground cable to the battery. For more information, refer to Specification.
Comments on this article