Special tool
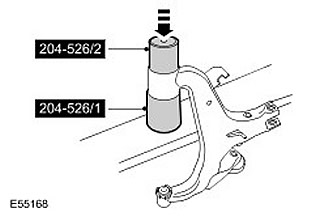
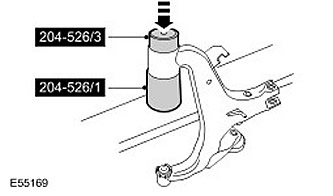
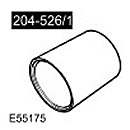 Receiver for the front bushing of the rear lower arm 204-526/1
 | 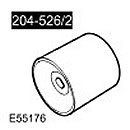 Device for dismantling the front bushing of the rear lower arm 204-526/2
 | 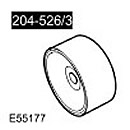 Device for mounting the front bushing of the rear lower arm 204-526/3
 |
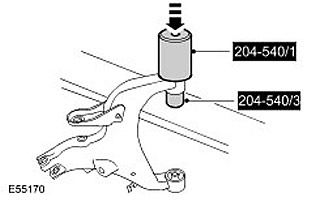
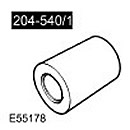 Receiver for Rear Bushing of Rear Lower Arm 204-540/1
 | 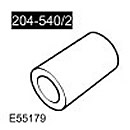 Device for dismantling the rear bushing of the rear lower arm 204-540/2
 | 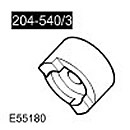 Device for mounting the rear bushing of the rear lower arm 204-540/3
 |
Removing
NOTE: Bushings must be replaced in pairs, left and right.
1.
WARNING: It is forbidden to carry out work on a vehicle supported only by a jack. Always place the vehicle on secure stands.
Raise and support the vehicle.
2. Remove the wheel assembly with tires.
3. Remove the lower left arm. For more information, refer to Lower Arm (64.35.54)
4. Remove the lower right arm.
5. Note the position of the bushing in relation to the lower arm.
6.
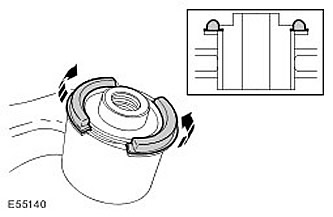
ATTENTION: To dismantle the bushing, it is necessary to remove its flanges.
NOTE: Note the position in which the sleeve is installed.
Using a suitable tool, bend the bushing flanges.
7. Using a hacksaw, separate the flange from the bush without damaging the upper arm.
8. Using the special tools, remove and discard the lower arm rear bushings.
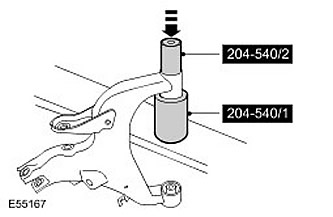
9. Using the special tools, remove and discard the lower arm front bushings.
Installation
1.
CAUTION: Make sure the bushing is installed without distortion.
CAUTION: Be sure to use the correct special tool to set the bushings to the correct depth.
Using the special tools, install the lower arm front bushings.
2.
CAUTION: Make sure the bushing is installed without distortion.
Using the special tools, install the lower arm rear bushings.
3. Install the lower left arm. For more information, refer to Lower Arm (64.35.54)
4. Install the lower right arm.
5. Install wheels and tires. Tighten wheel nuts (tightening torque 140 Nm).
6. Check wheel alignment. For more information, refer to All Four Wheel Alignment (57.65.04)
Comments on this article