CAUTION: To avoid being scalded by hot coolant or steam, use extreme caution when removing the coolant expansion tank pressure cap when the cooling system is warm. Allow the engine to cool, then wrap a thick cloth around the coolant expansion tank cap and slowly loosen it until the pressure release process begins. Step back while the cooling system releases pressure. After ensuring that all pressure has been released, and without removing the cloth, twist and remove the coolant expansion tank pressure cap. Failure to follow these instructions could result in personal injury.
CAUTION: To prevent corrosion and engine damage due to coolant freezing, the engine cooling system must be filled with the correct grade of antifreeze at the correct concentration. Failure to do so may result in engine damage.
CAUTION: Coolant can damage paintwork. If you spill coolant, clean it up immediately and rinse the area with water.
1. Set the heater controls to maximum heat (HOT).
2.
CAUTION: Never remove the coolant expansion tank cap when the system is hot, as steam or coolant escaping from the cap could cause serious injury such as scalding.
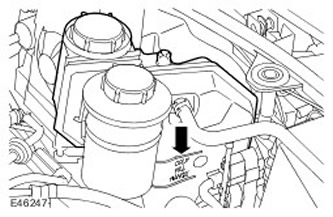
Unscrew the expansion tank cap.
3.
CAUTION: Do not work on or under a vehicle supported solely by a jack. Always support the vehicle securely.
Raise the vehicle and support it on jack stands.
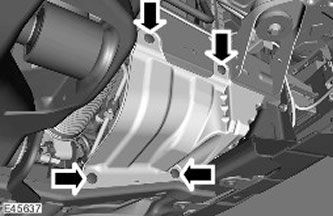
4. Remove the front left mudguard. Release the 4 clips.
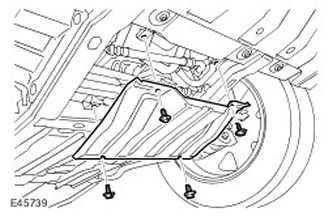
5. Remove the panel blocking access to the radiator. Unscrew 4 bolts.
6. Place a container to collect any spilled liquid.
7. Disconnect the coolant hose from the thermostat.
- Release the clamp.
- Drain the coolant.
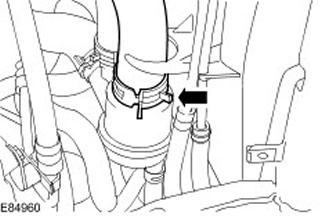
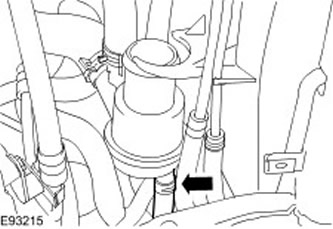
8. Disconnect the coolant hose from the thermostat.
- Release the clamp.
- Drain the coolant.
9. Remove the spare wheel with tire.
- Put away the tool kit.
- Gain access to the winch.
11. Disconnect the rear heater coolant hoses.
- Release the 2 clamps
- Drain the coolant.
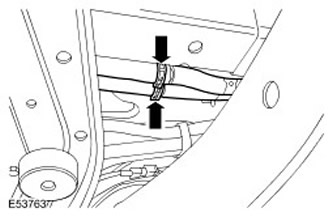
12. Connect the rear heater coolant hoses. Secure the clamps.
13. Install the spare wheel and tire. Put the tool kit back in place.
14. Connect the cooling system hoses to the thermostat housing. Secure with a clamp.
15. Prepare a sufficient amount of coolant of the required concentration.
16. Install the cooling system vacuum filler adapter onto the expansion tank.
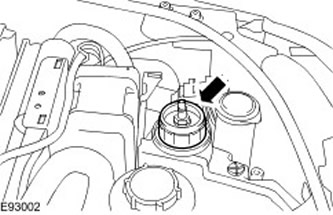
17. Install the vacuum filling device measuring device onto the cooling system filling adapter.
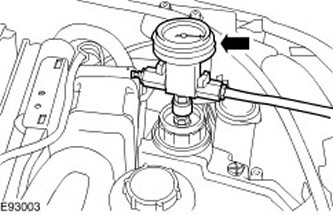
18. Install the venturi tube assembly onto the vacuum filling gauge measuring device.
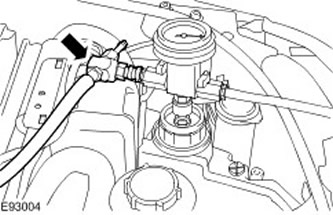
19.
NOTE: Make sure both valves on the measuring device are in the closed position.
NOTE: The coolant filling vacuum tool requires an air pressure of 6 to 8 bar to operate properly.
NOTE: Small diameter or long air lines may restrict air flow to the coolant filler vacuum tool.
Connect the adjustable flow and compressed air lines to the venturi assembly.
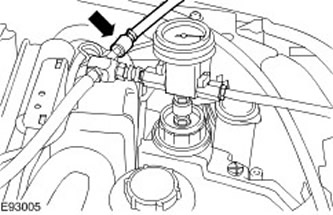
20.
NOTE: Make sure that no air enters the hose.
Place the coolant pickup tube into a container of clear coolant.
21. Place the air extraction hose into the container.
22. Open the air supply valve.
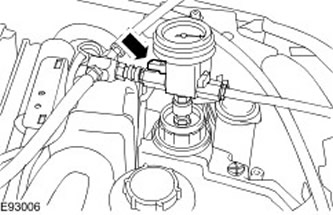
23. Open the coolant supply valve for 2 seconds to fill the coolant supply hose.
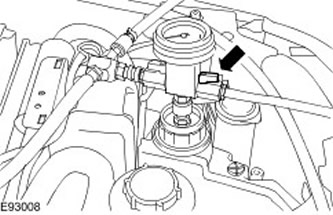
24. Gradually apply air pressure until the needle on the vacuum filling device gauge reaches the green segment.
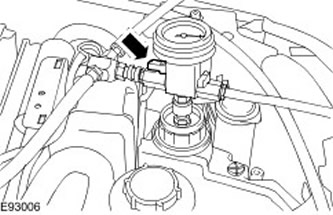
25. Close the supply and air valve.
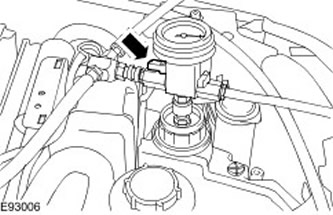
26. Wait 1 minute to make sure the vacuum is held. Disconnect the compressed air supply line.
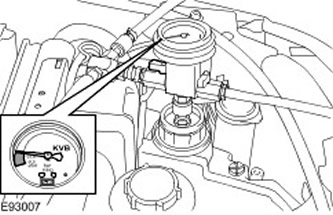
27.
NOTE: When the coolant reaches the upper (MAX) mark on the expansion tank or the coolant stops flowing, close the coolant supply valve.
Open the coolant supply and fill valve to fill the system with coolant.
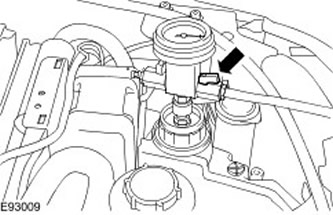
28. Remove the vacuum filler gauge and the cooling system filler adapter assembly.
29. Connect the exhaust hoses to the rear exhaust pipes.
30. Check the coolant level and top up if necessary.
31. Install the coolant expansion tank cap.
32. Start the engine and let it run.
- Maintain the crankshaft speed at 3000 rpm for one minute.
- Let the engine idle for 5 minutes.
- Maintain the crankshaft speed at 3000 rpm for one minute.
- Let the engine run until the thermostat opens.
34. If coolant gets on your car, wipe it off.
35. Install the radiator access panel. Tighten the 4 bolts to 10 Nm.
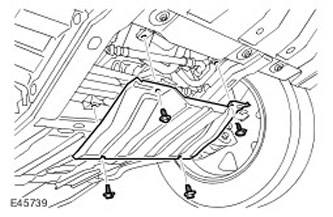
36. Install the front left mudguard. Install the clamps.
37.
CAUTION: Never remove the coolant expansion tank cap when the system is hot, as steam or coolant escaping from the cap could cause serious injury such as scalding.
Check the coolant level and top up if necessary.
Comments on this article