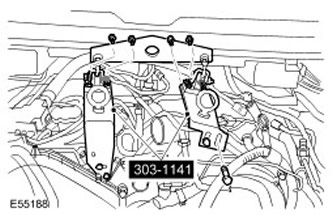
Special tool
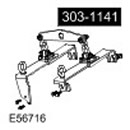 Engine Lifting Winch 303-1141 Engine Lifting Winch 303-1141 |
Removal
1. Disconnect the ground cable from the battery. For more information, refer to Specification.
2.
CAUTION: Never work on a vehicle supported solely by a jack. Always support the vehicle securely.
Raise and support the vehicle.
3. Remove the wheels.
4. Remove the body. For more information, refer to Body - Diesel.
5. Remove the cooling fan shroud. For more information, refer to Cooling Fan Shroud (26.25.11)
6. Remove the air intake throttle valve. For more information, refer to Air Intake Valve (19.70.32)
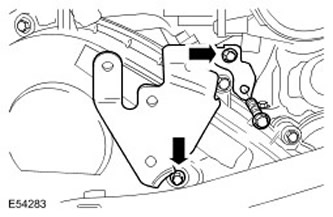
7. Remove the air intake throttle valve elbow support bracket. Remove the three bolts.
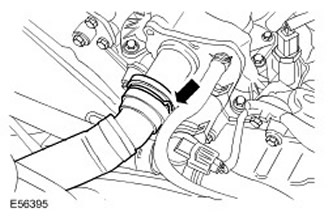
8. Disconnect the upper coolant hose from the coolant manifold. Remove the clamp.
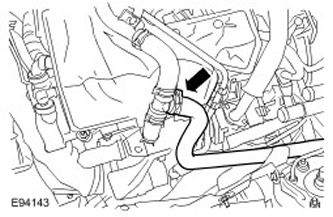
9. Disconnect the EGR coolant hose for the right bank of cylinders. Release the clamp.
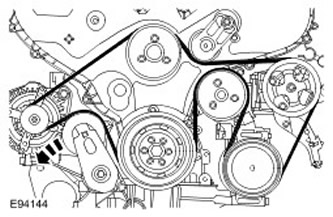
10. Remove the accessory drive belt Turn the accessory drive belt tensioner counterclockwise.
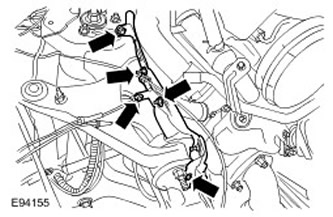
11. Remove the two heat shields from the left upper control arm and brake pipe.
- Unscrew the two nuts.
- Remove three bolts.
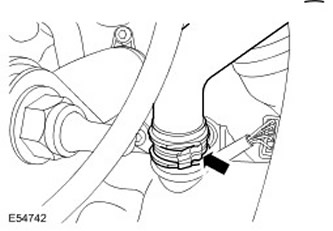
12. Disconnect the ventilation hose. Release the clamp.
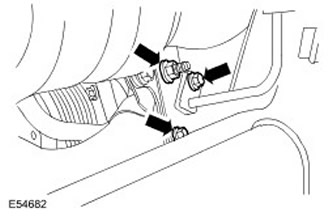
13. Release the charge air cooler inlet pipe.
- Unscrew the nut.
- You will return two bolts.
14.
CAUTION: Plug all openings. Use new plugs.
Disconnect the low pressure line from the air conditioning (A/C) compressor.
- Remove the bolt.
- Remove the sealing ring and discard it.
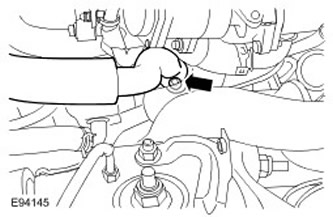
15. Disconnect the charge air cooler inlet hose. Loosen the clamp.
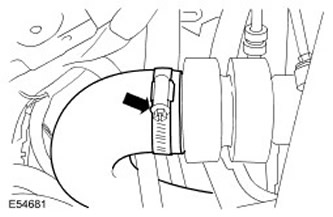
16. Disconnect the charge air cooler inlet hose. Loosen the clamp.
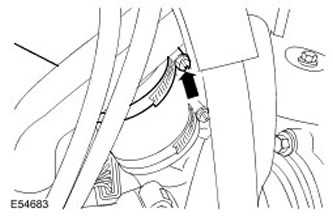
17. Disconnect the lower coolant hose. Loosen the clamp.
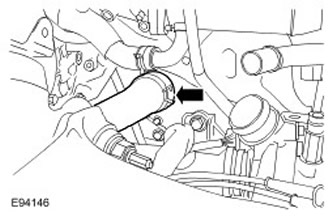
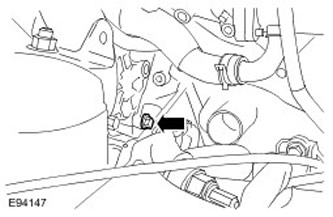
18. Remove the rear power steering pump mounting bolt.
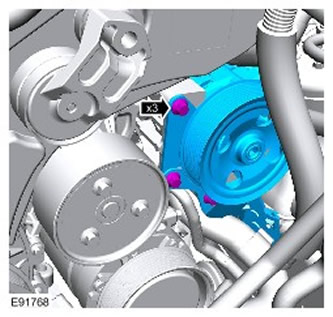
19. Remove the power steering pump. Remove the three bolts.
20. Remove the charge air cooler inlet pipe.
21.
CAUTION: Plug all openings. Use new plugs.
Disconnect the high pressure line of the air conditioning compressor.
- Remove the bolt.
- Remove the sealing ring and discard it.
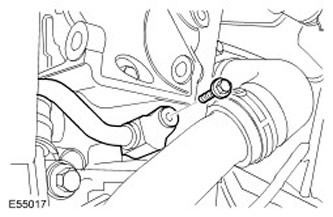
22. Move the lower coolant hose.
23. Remove the turbocharger inlet pipe. Release the clamp.
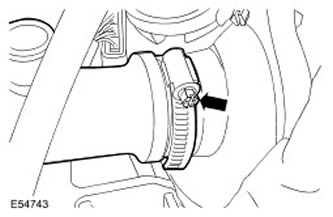
24. Release the transmission fluid lines. Unscrew the nut.
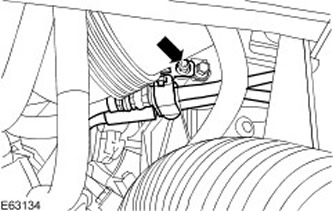
25. Disconnect the positive cable from the battery. Release the clamp.
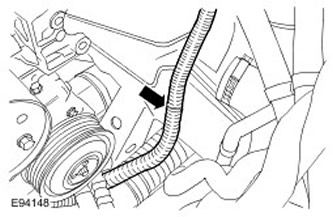
26. Disconnect the exhaust system from the turbocharger.
- Unscrew and discard three nuts.
- Remove the gasket and discard it.
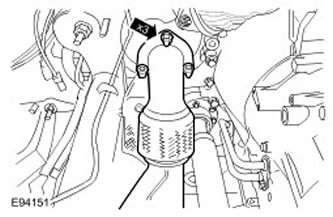
27. Remove the turbocharger support bracket.
- Remove two bolts.
- Unscrew the nut.
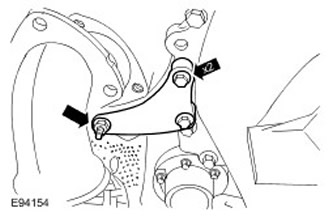
28. Release the exhaust cross pipe bracket. Remove 6 bolts.
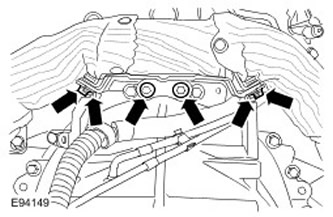
29.
CAUTION: Plug all openings. Use new plugs.
Disconnect the two fuel lines.

30. Release the two fuel lines.
- Remove the bolt.
- Release from two clamps.
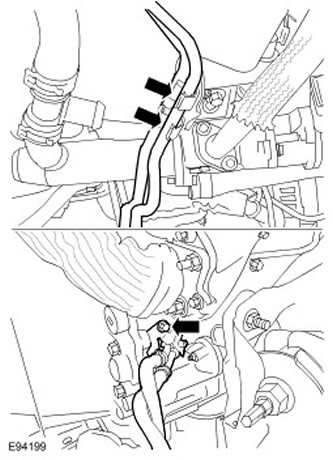
31. Release the transmission ventilation lines. Remove the bolt.
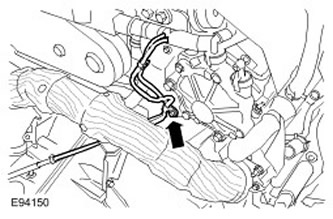
32. Release and move the fuel cooler. Remove the bolt.
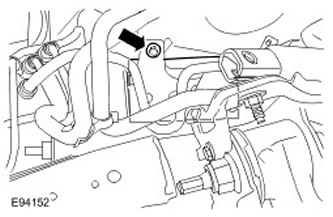
33. Disconnect the engine ground wire. Remove the bolt.
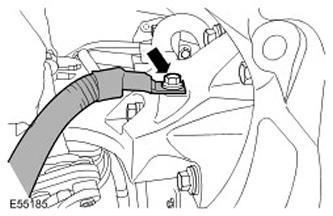
34. Remove the starter support bracket. Remove the four bolts.
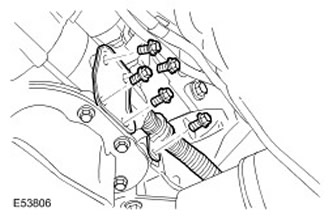
35. Disconnect the two starter wiring harness connectors at the starter solenoid.
- Remove the rubber insulator.
- Unscrew the two nuts.
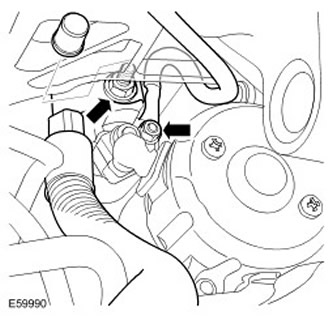
36. Remove the starter. Unscrew the two bolts.
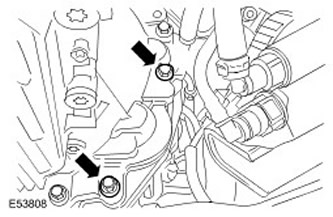
37. Release the faceplate.
- Remove the access plug.
- Remove and discard four bolts.

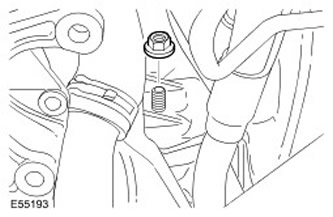
38. Unscrew the nut of the left engine support.
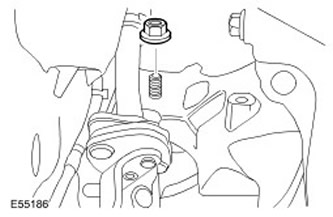
39. Unscrew the nut of the right engine support.
40. Install the special tool. Screw in and tighten the bolts.
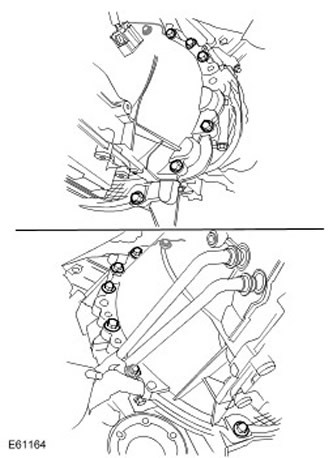
41. Disconnect the gearbox from the engine. Remove 14 bolts.
42.
NOTE: Pay attention to the positive battery cable routing.
NOTE: Mark the transmission wiring harness routing.
With the help of a second mechanic, carefully remove the engine.
- Using a hydraulic jack, support the gearbox.
- Carefully move the transmission wiring harness out of the way when removing the engine.
- Carefully tuck the positive battery cable out of the way when removing the engine.
Comments on this article